Photorealistic Interior Rendering: Tips and Tricks to Achieve Stunning Results
Interior rendering creates realistic images or animations of interior spaces using 3D software and rendering engines. It is a powerful tool for interior designers, architects, and clients to visualize and communicate their design ideas.
However, creating photorealistic interior renderings is not an easy task. It requires a lot of skill, knowledge, and attention to detail. In this article, we will share some tips and tricks to help you achieve stunning results in your interior rendering projects.
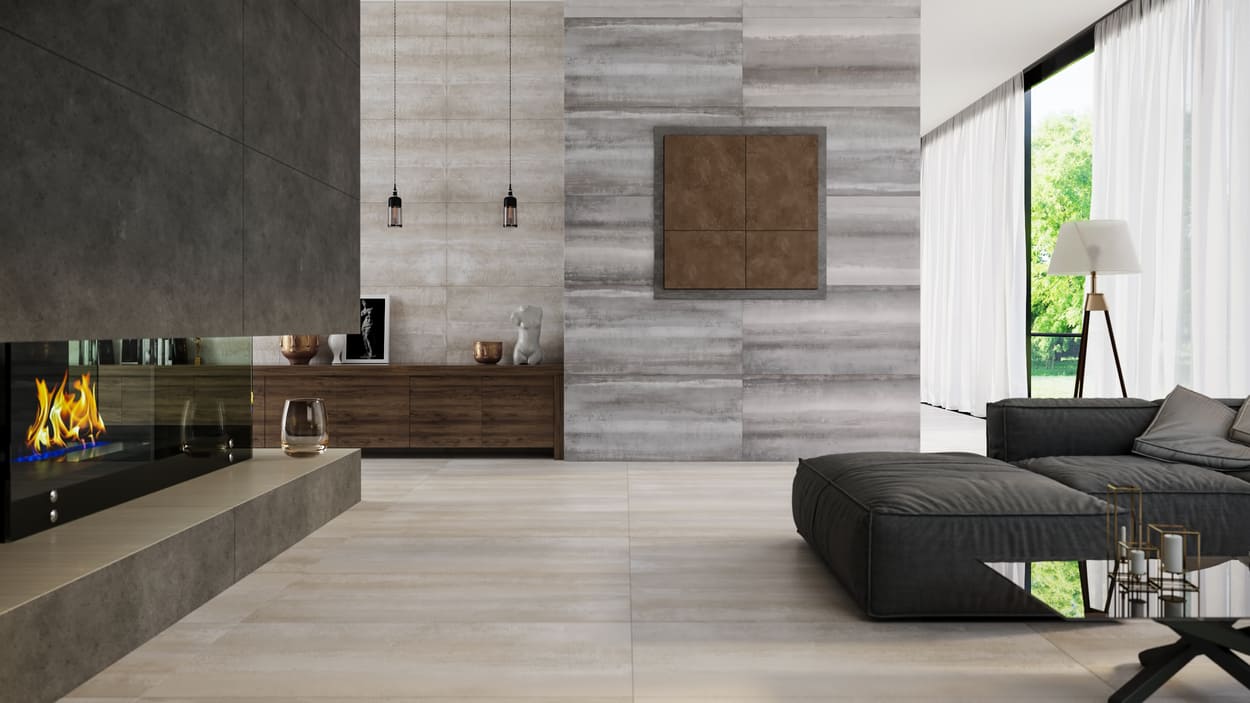
Image from Yousee Studio
Tip 1: Use High-Quality Models and Textures
One of the most important factors that affect the realism of your interior renderings is the quality of your 3D models and textures. You should use high-resolution models and textures that match the scale and style of your scene. You should also avoid using low-poly models or stretched textures that can ruin the appearance of your objects.
You can create your models and textures using 3D modeling and texturing software or ready-made ones from online libraries or marketplaces. However, you should always check the quality and compatibility of your models and textures before importing them into your scene.
Tip 2: Adjust Lighting and Shadows
Another crucial factor affecting your interior renderings' realism is the lighting and shadows. You should use proper lighting that reflects your scene's natural or artificial light sources. You should also adjust your lights' intensity, color, size, position, and type to create the desired mood and atmosphere.
You can use different types of lights depending on the effect you want to achieve, such as ambient lights for general illumination, spotlights for highlighting specific areas, or area lights for softening shadows. You should also use global illumination techniques such as radiosity or photon mapping to simulate the indirect light bouncing in your scene.
Tip 3: Add Decorations, Furniture, and Lifelike Objects
A third factor that affects the realism of your interior renderings is your scene's level of detail and complexity. You should add decorations, furniture, and lifelike objects that make your scene look more lived-in and realistic. You should also vary your objects' size, shape, color, and position to create some diversity and interest.
You can create your decorations, furniture, and lifelike objects using 3D modeling software or ready-made ones from online libraries or marketplaces. However, you should always check the relevance and suitability of your objects before adding them to your scene.
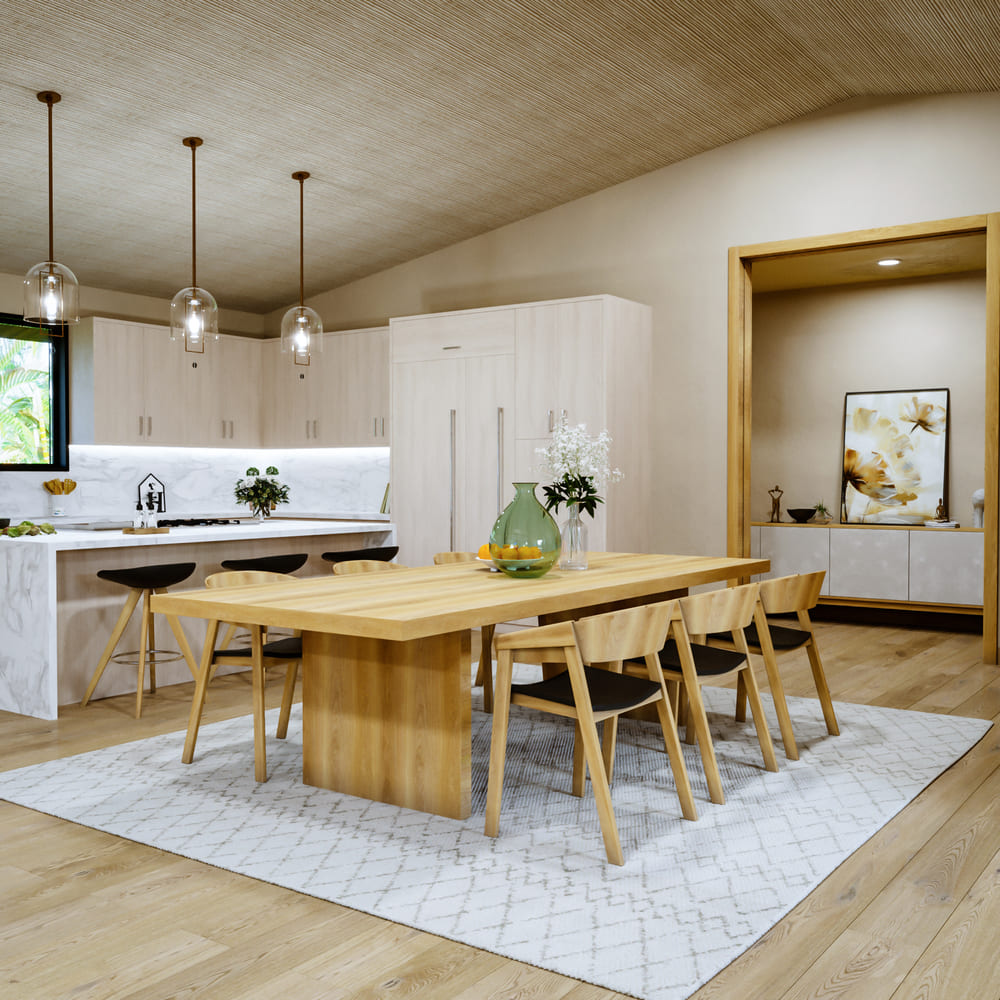
Image from Yousee Studio
Tip 4: Fine-Tune Surface Coverings
A fourth factor that affects the realism of your interior renderings is the surface coverings of your walls, floors, ceilings, and other elements. You should fine-tune the surface coverings to match the material and texture of your elements. You should also use bump maps, normal maps, displacement maps, or specular maps to add depth and detail to your surface coverings.
You can create your surface coverings using 3D texturing software or ready-made ones from online libraries or marketplaces. However, you should always check the resolution and mapping of your surface coverings before applying them to your elements.
Tip 5: Offer Several Viewpoints
A fifth factor that affects the realism of your interior renderings is the viewpoint or perspective of your camera. You should offer several viewpoints that show different angles and aspects of your scene. You should also adjust your camera's focal length, field of view, aperture, depth of field, exposure, and white balance to create realistic views.
You can use the default camera with your 3D software or rendering engine or create your custom camera using settings and parameters. However, you should always check the composition and framing of your viewpoints before rendering them.
Tip 6: Create Some Atmosphere
A sixth factor that affects the realism of your interior renderings is the atmosphere or environment of your scene. You should create some atmosphere that adds life and realism to your scene. You can use fog, smoke, dust, particles, or volumetric effects to create some atmosphere in your scene.
You can create your own atmosphere using 3D effects software or plugins or ready-made ones from online libraries or marketplaces. However, you should always check the intensity and color of your atmosphere before adding it to your scene.
Tip 7: Use Lens Effects
A seventh factor that affects the realism of your interior renderings is your camera's lens effects or post-processing effects. You should use lens effects that mimic the behavior and imperfections of real cameras. You can use lens flares, chromatic aberration, vignetting, bloom, glare, or noise to add some lens effects to your renderings.
You can create your own lens effects using 3D effects software or plugins or ready-made ones from online libraries or marketplaces. However, you should always check the amount and quality of your lens effects before applying them to your renderings.
Conclusion
In this article, we have shared some tips and tricks to help you achieve stunning results in your interior rendering projects. Following these tips and tricks, you can create photorealistic interior renderings that impress your clients and showcase your design ideas.
Interior rendering is a fun and rewarding skill that can enhance your portfolio and career. With practice and experimentation, you can master the art of interior rendering and create amazing images and animations.
Contact us at YouSee Studio for captivating 3D renderings and immersive virtual experiences.
Karen Spacey is a content writer and the author of this article.

