How to Achieve Photorealistic Interior Rendering with Enscape and SketchUp
Interior rendering has become an essential tool for architects, designers, and visual artists to showcase their ideas and concepts in a lifelike and immersive manner. With advancements in technology and software, achieving photorealistic interior renderings has become more attainable than ever. One such powerful combination is using Enscape and SketchUp. This article will explore the techniques and steps to create stunning photorealistic interior renderings using these tools.
Introduction to Photorealistic Interior Rendering
Photorealistic interior rendering involves creating digital representations of interior spaces that closely resemble real-life settings. It aims to capture not just the physical elements of an area but also the ambiance, lighting, textures, and materials. Achieving photorealism requires attention to detail, an understanding of lighting principles, and the tools to bring it together.
Understanding Enscape and SketchUp Before we delve into creating photorealistic interior renderings, let's familiarize ourselves with the two primary tools we'll use: Enscape and SketchUp.
SketchUp
SketchUp is a versatile 3D modeling software known for its user-friendly interface and intuitive controls. It allows designers to create detailed 3D models of interior spaces, including walls, furniture, fixtures, and more. SketchUp's flexibility makes it an ideal starting point for interior design projects.
Enscape
Enscape is a real-time rendering and visualization plugin that seamlessly integrates with popular design software, including SketchUp. Enscape enables designers to visualize their 3D models in a photorealistic environment instantly. With real-time rendering, users can make design decisions on the spot and see how changes affect the overall look and feel of the space.

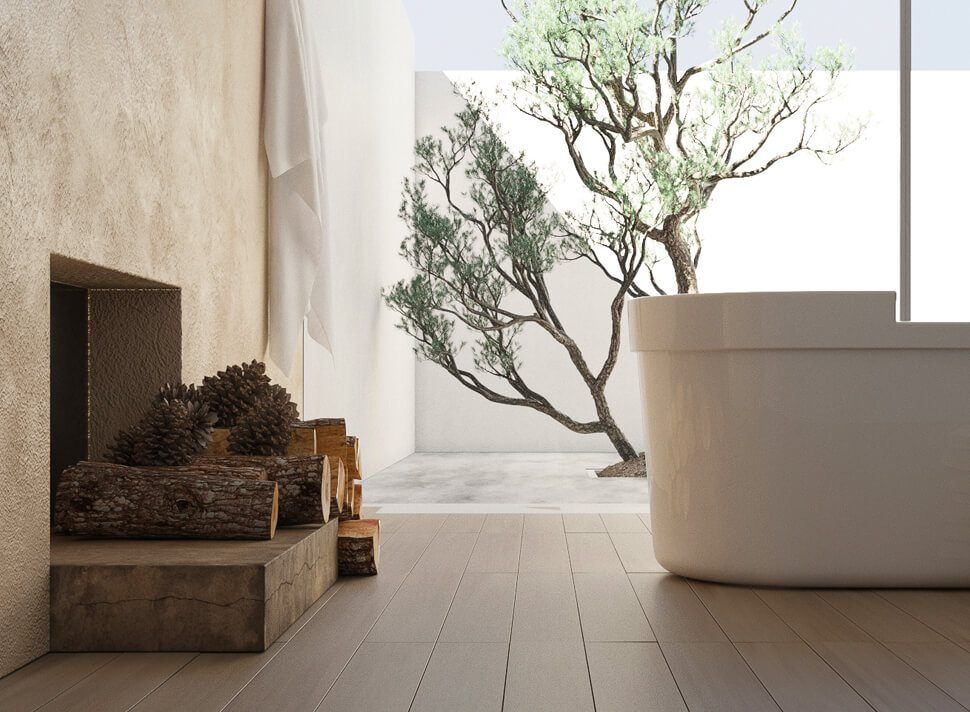
Image from Yousee Studio
Setting Up Your Project for Success Before you start creating your photorealistic interior rendering, it's essential to set up your project correctly. This involves organizing your model, applying materials, and optimizing your scene for rendering.
Organizing the Model
Create a clean and organized 3D model of the interior space in SketchUp. Label and group elements like walls, floors, ceilings, furniture, and lighting fixtures. This organization will help you manage your scene efficiently while working on the rendering.
Applying Materials
Applying realistic materials is crucial for achieving photorealism. Use high-quality texture maps for wood, stone, fabric, and glass surfaces. SketchUp allows you to import custom materials or choose from its library. Assign materials to different parts of your model to create a diverse and visually appealing space.
Optimizing the Scene
Enscape's real-time rendering relies on the performance of your hardware. To ensure smooth navigation and rendering, simplify your model by removing unnecessary details that won't be visible in the final rendering. Use proxies for complex objects to improve performance without sacrificing quality.
Harnessing the Power of Lighting Lighting is one of the most critical factors in creating photorealistic interior renderings. Correctly simulated lighting can transform a scene and evoke specific moods. Let's explore how to utilize lighting effectively in your Enscape and SketchUp workflow.
Natural Lighting
Start by setting up natural lighting sources in your SketchUp model, such as windows and skylights. Enscape's real-time rendering will accurately simulate the sunlight's position and intensity based on your location and time of day.
Artificial Lighting
Interior spaces often rely on artificial lighting to create ambiance. Use SketchUp's lighting components or plugins to add fixtures like lamps, pendants, and chandeliers. Adjust each light source's intensity, color temperature, and angle to achieve the desired effect.
IES Profiles
For more accurate and realistic lighting, consider using IES profiles. These profiles provide data about the distribution of light from specific fixtures. Enscape supports IES profiles, allowing you to replicate real-world lighting conditions within your renderings.
Creating Realistic Materials and Textures The tactile feel of materials and textures dramatically contributes to the realism of your interior renderings. Enscape and SketchUp offer tools to help you achieve lifelike materials.
Material Mapping
Properly mapping textures onto your 3D model is essential. Enscape's real-time rendering accurately represents wood, stone, and fabric materials. Experiment with different mapping techniques to achieve the desired visual result.
Texture Quality
Use high-resolution texture maps to ensure the finest details are visible in your renderings. Enscape's real-time capabilities mean you can instantly see how different textures affect the overall look of your scene.

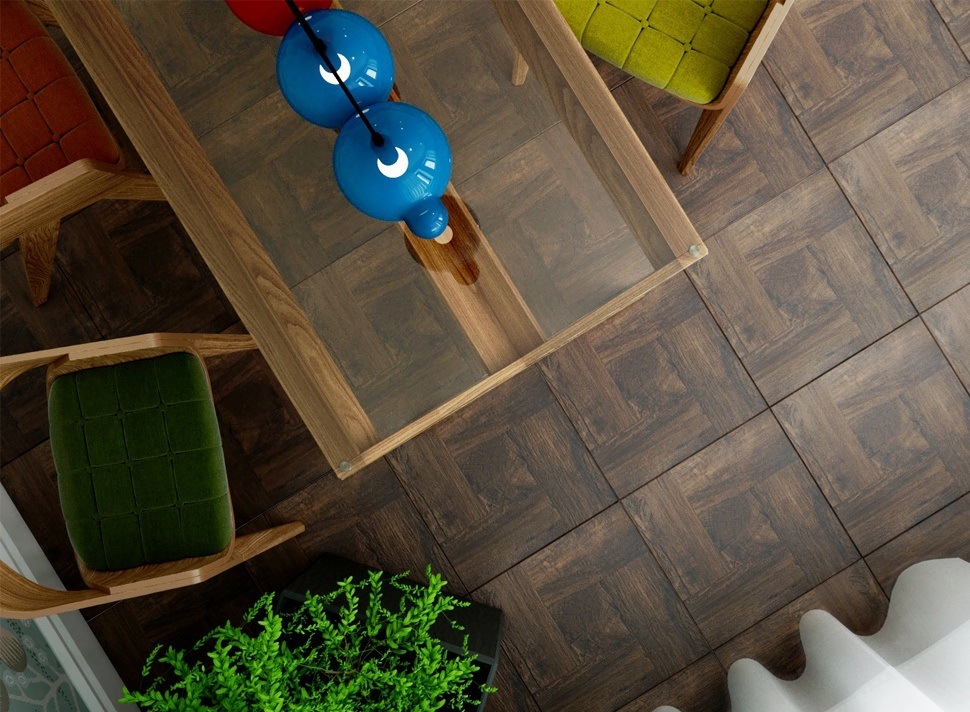
Image from Yousee Studio
Material Reflectance
Adjust the reflectance properties of materials to mimic their real-world counterparts. For example, glossy surfaces like glass or polished metals should reflect their surroundings accurately. SketchUp and Enscape allow you to fine-tune these properties to create convincing materials.
In the next part of this article, we'll continue our exploration of creating photorealistic interior renderings using Enscape and SketchUp. We'll delve into the role of camera settings, post-processing techniques, and tips for optimizing your workflow to achieve stunning results. Stay tuned for the second half of this guide, where we'll help you take your interior renderings to the next level of realism and impact.
Mastering Camera Settings for Realism
The camera settings you choose play a significant role in achieving photorealistic interior renderings. Enscape and SketchUp provide tools to control camera parameters and create compositions that emulate real-life photography.
Field of View (FOV)
Set the field of view to emulate human vision. A wider FOV can create a sense of spaciousness, while a narrower FOV can focus on specific details. Experiment with different FOV settings to find the most compelling composition.
Camera Height and Angle
Mimic the perspective of a person standing in the room by adjusting the camera's height and angle. A lower camera height can create a more intimate and immersive experience, while a higher grade can showcase the overall design.
Depth of Field (DOF)
Use depth of field to control the focus of your rendering. Blurring the background or foreground can draw attention to specific elements and enhance realism. Enscape allows you to adjust DOF settings in real time, providing instant feedback on the visual impact.
White Balance
Like in photography, white balance affects the color temperature of your rendering. Adjust the white balance settings to match the intended lighting conditions and create a more authentic atmosphere.
Enhancing Realism Through Post-Processing
Post-processing is the stage where you fine-tune your rendering to achieve the desired level of realism and mood. Enscape provides built-in post-processing tools, while additional software can be used for more advanced adjustments.
Exposure and Contrast
Use exposure settings to control the overall brightness of your rendering. Adjust contrast to add depth and dimension to your scene. Enscape's real-time rendering lets you see these changes instantly, facilitating quick iterations.
Color Correction
Fine-tune color balance, saturation, and vibrancy to achieve the desired color palette for your interior rendering. Ensure that the colors accurately represent the materials and lighting conditions in the space.
Depth and Ambient Occlusion
Enabling depth and ambient occlusion enhances the perception of depth and contact shadows, respectively. These effects can add realism by simulating how light interacts with surfaces and objects.
Optimizing Workflow for Efficiency
Efficiency is essential in creating photorealistic interior renderings, especially when working on complex projects. Streamlining your workflow can save time and help you achieve high-quality results.

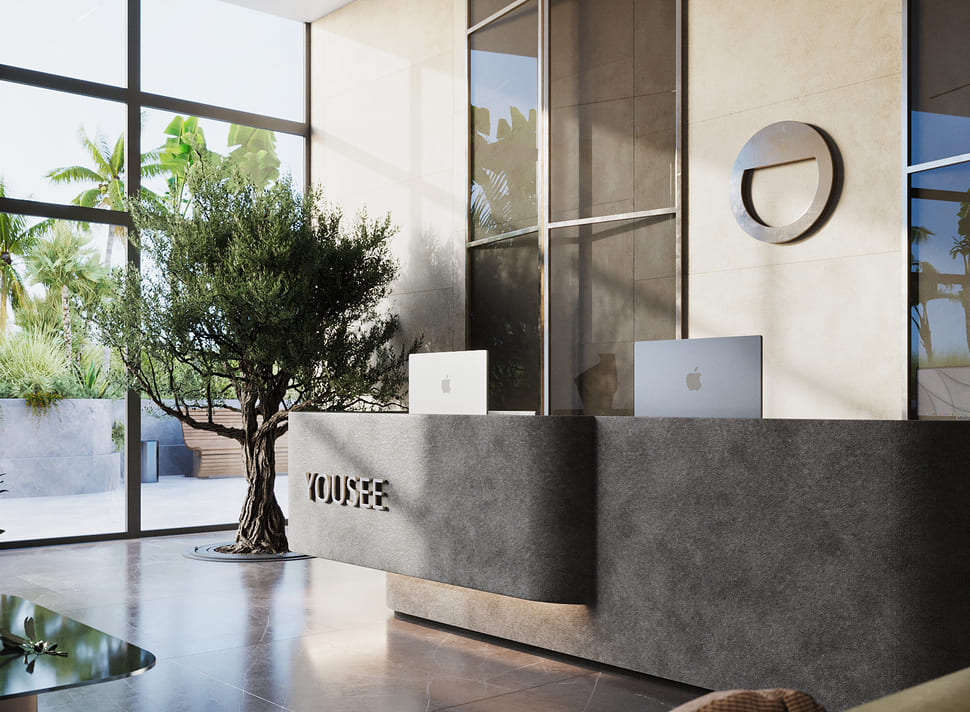
Image from Yousee Studio
Material Libraries
Create a library of commonly used materials to speed up the material assignment process. A consistent set of readily available textures can maintain visual consistency across projects.
Component Libraries
Build a library of 3D components and furniture pieces you frequently use in your designs. This library can be populated with high-quality models that are optimized for rendering.
Scene Organization
Maintain a well-organized scene by using layers or groups to isolate different elements of your model. This organization simplifies the process of selecting and modifying specific objects.
Exploring Escape's Additional Features
Enscape offers various features beyond the basics, allowing you to elevate your interior renderings to the next level.
Realistic Vegetation
Enscape's extensive library of vegetation assets lets you add natural plants and trees to your scene, enhancing the outdoor view visible through windows.
Animated Elements
Incorporate movement into your renderings with Enscape's playful elements. Showcase the dynamics of a space by adding moving features like ceiling fans, flowing water, or flickering lights.
360-Degree Panoramas
Enscape allows you to create immersive 360-degree panoramas of your interior renderings. This feature is ideal for presenting your designs to clients and giving them a virtual space tour.
Conclusion
Achieving photorealistic interior renderings with Enscape and SketchUp involves combining technical knowledge, creative decision-making, and attention to detail. You can create renderings that closely resemble real-life spaces by setting up your project effectively, harnessing the power of lighting, using realistic materials, and mastering camera settings. Post-processing and workflow optimization further contribute to the realism and efficiency of your process. As you explore Enscape's additional features, you'll find new ways to enhance your interior renderings' visual impact and storytelling capabilities. With dedication and practice, you can produce stunning visuals that captivate and engage your audience.
Contact us at YouSee Studio for captivating 3D renderings and immersive virtual experiences.
Ray Lisbon is a content writer and the author of this article.
RELATED ARTICLES
learn more