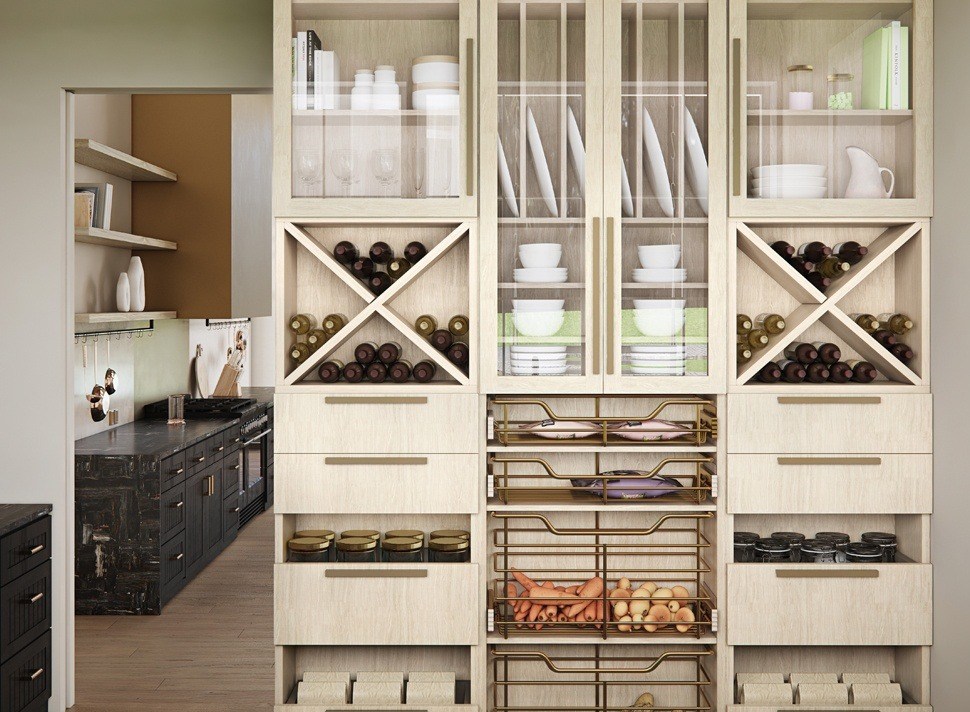
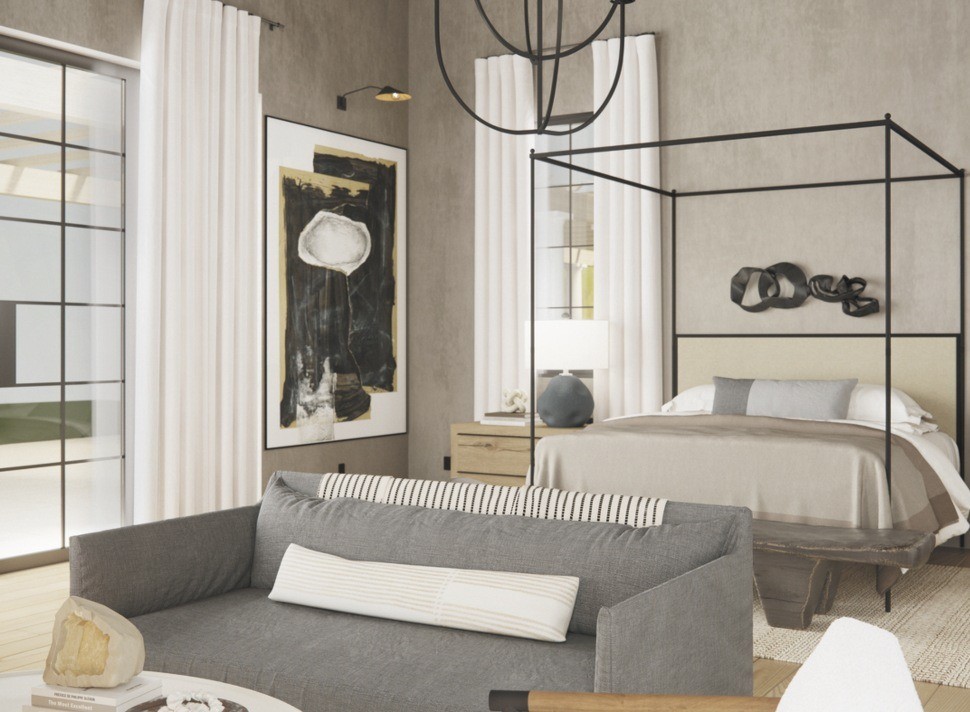
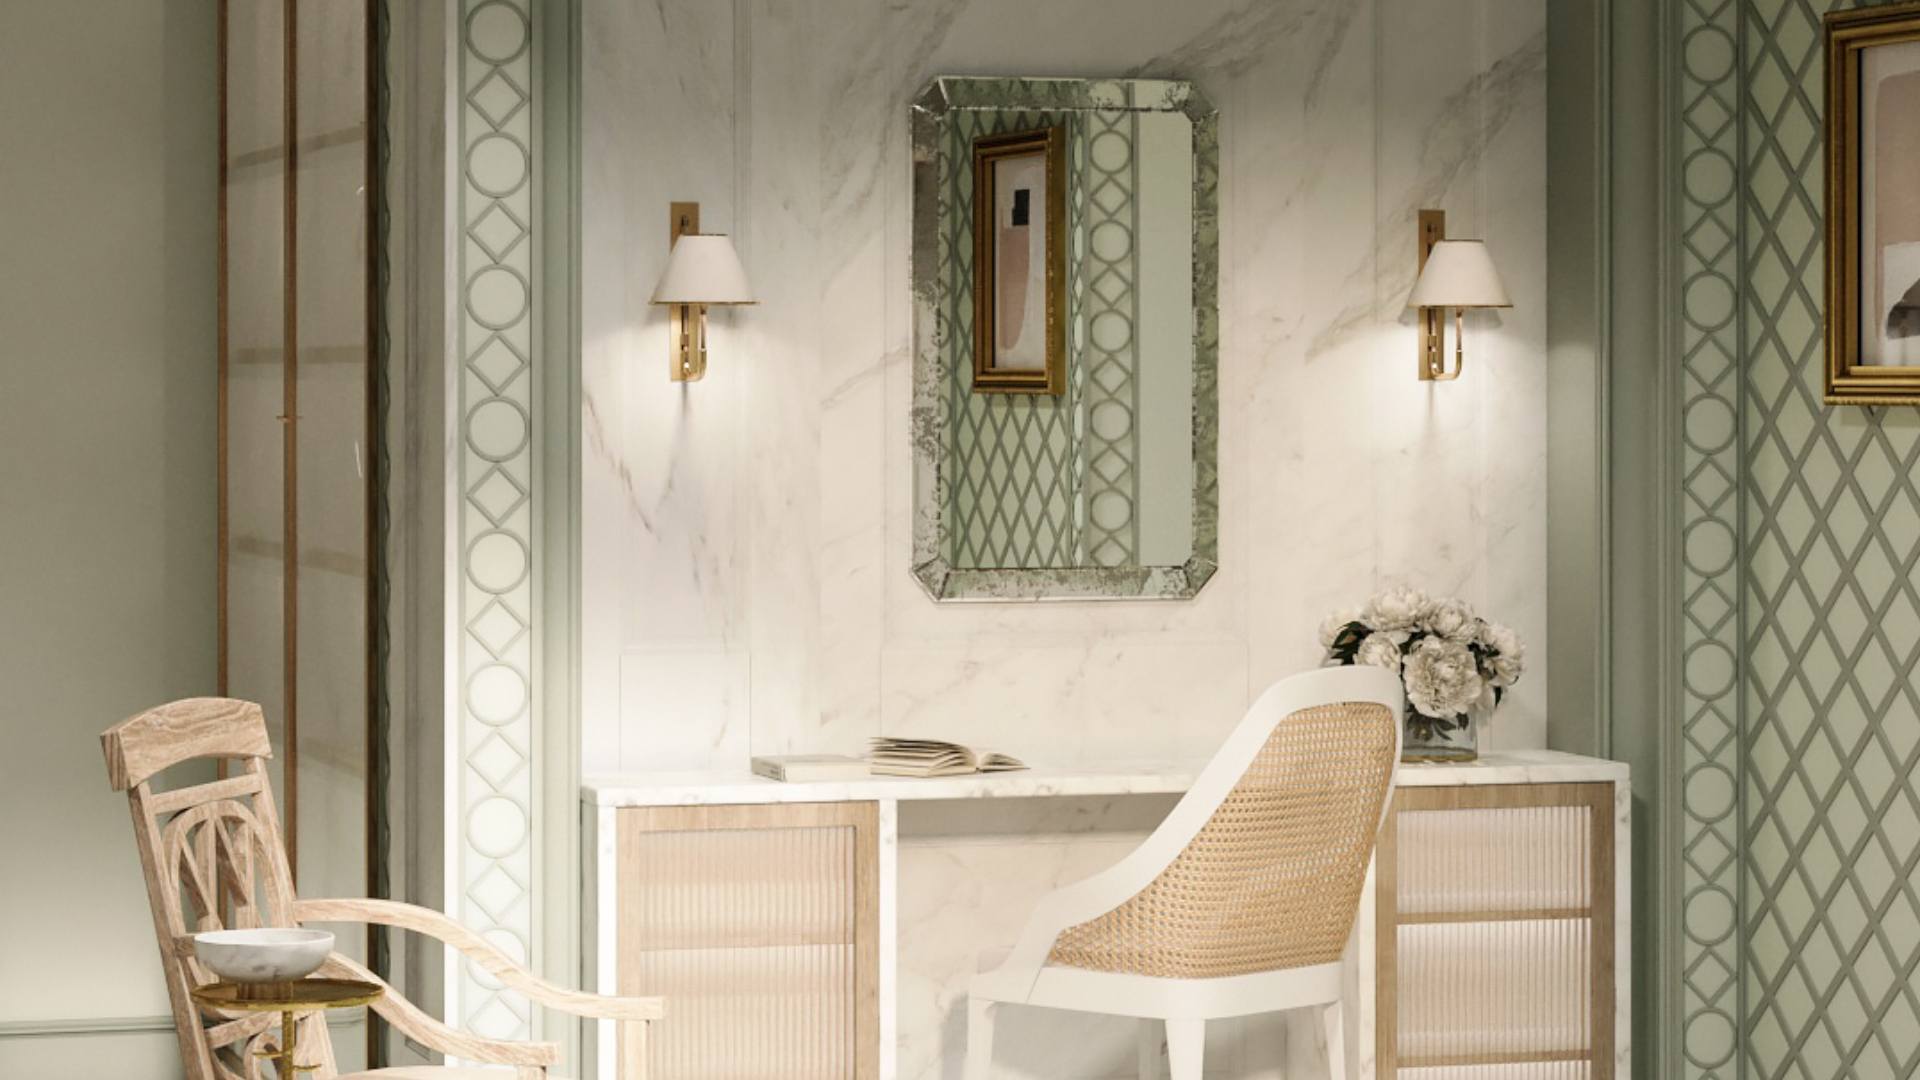
This project is part of a large virtual showhouse created together with national media partner Martha Stewart Living and Embello influencer marketing agency. The first-ever showhouse brought together 20 renowned designers, and each designer was responsible for their part of the house. Our job as a 3D visualization studio was to get each designer’s vision to life and create a virtual showhouse highlighting sponsors' products.
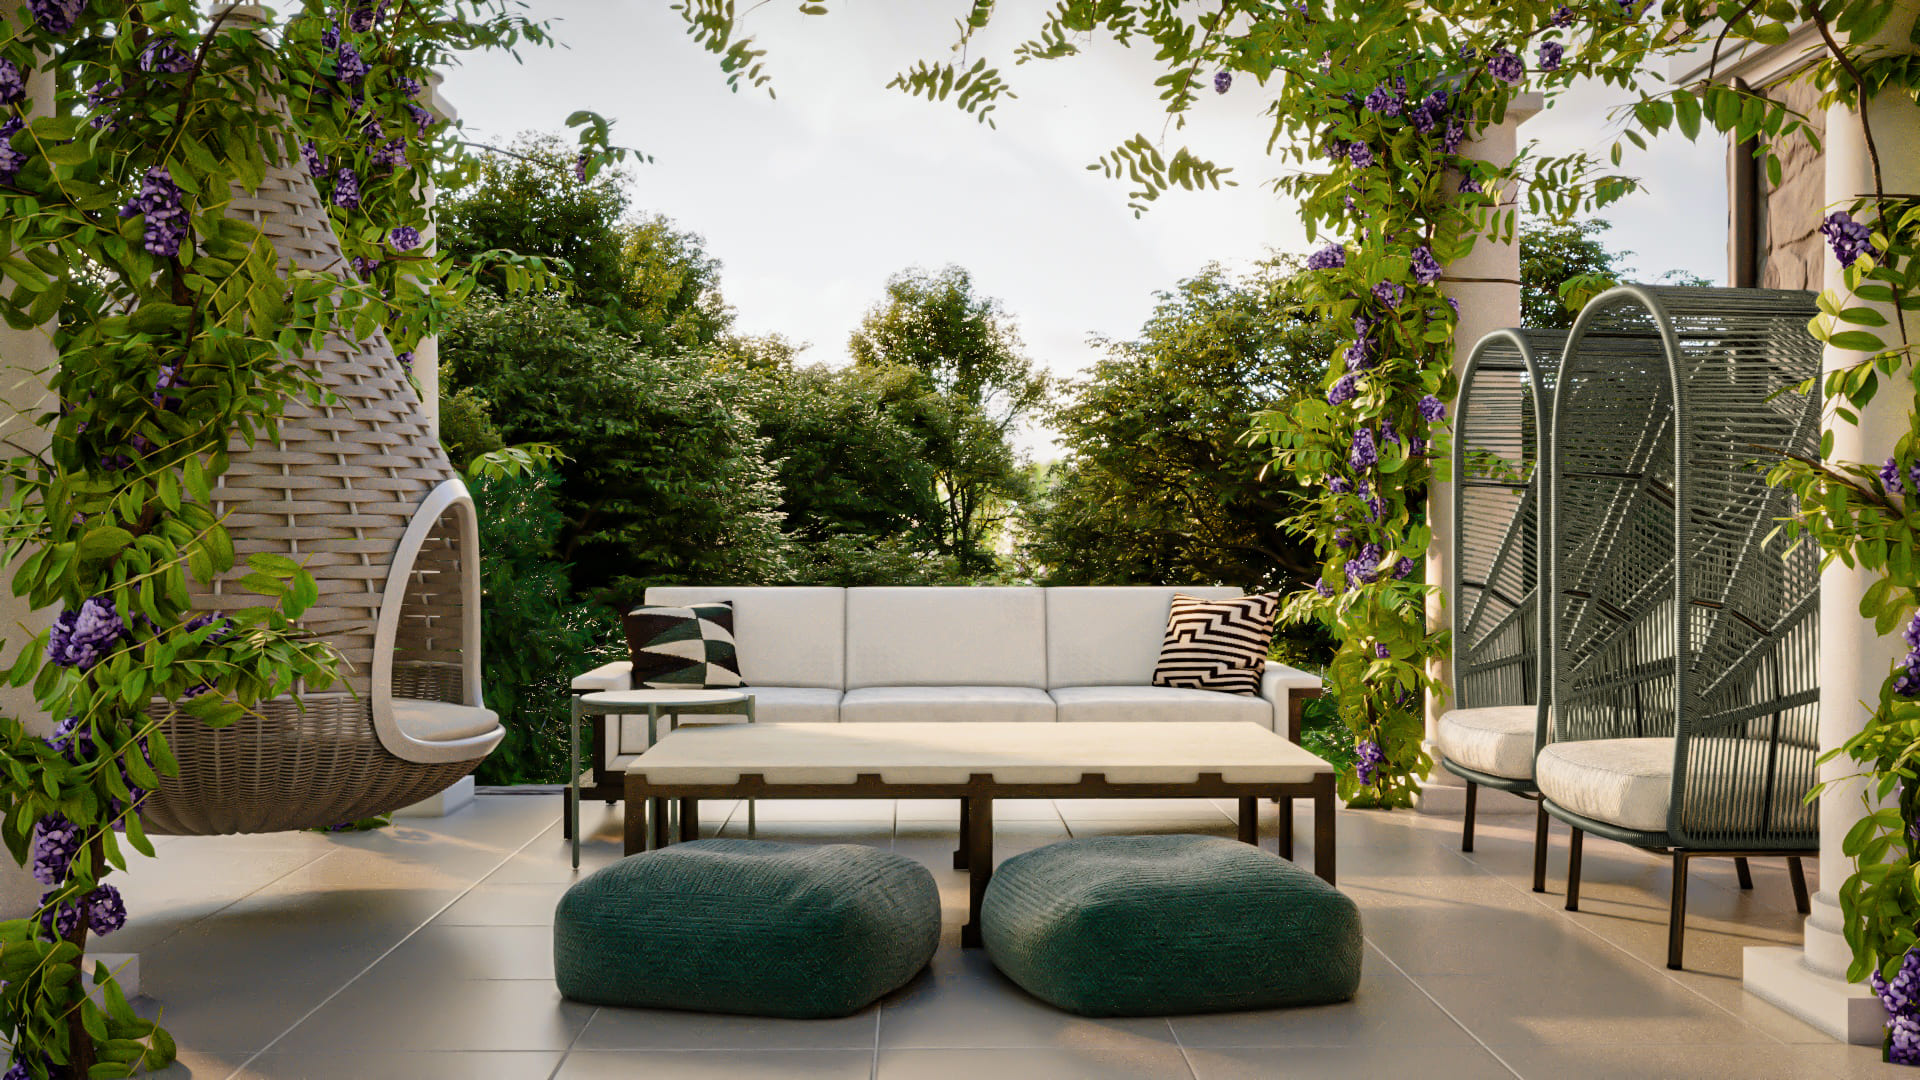
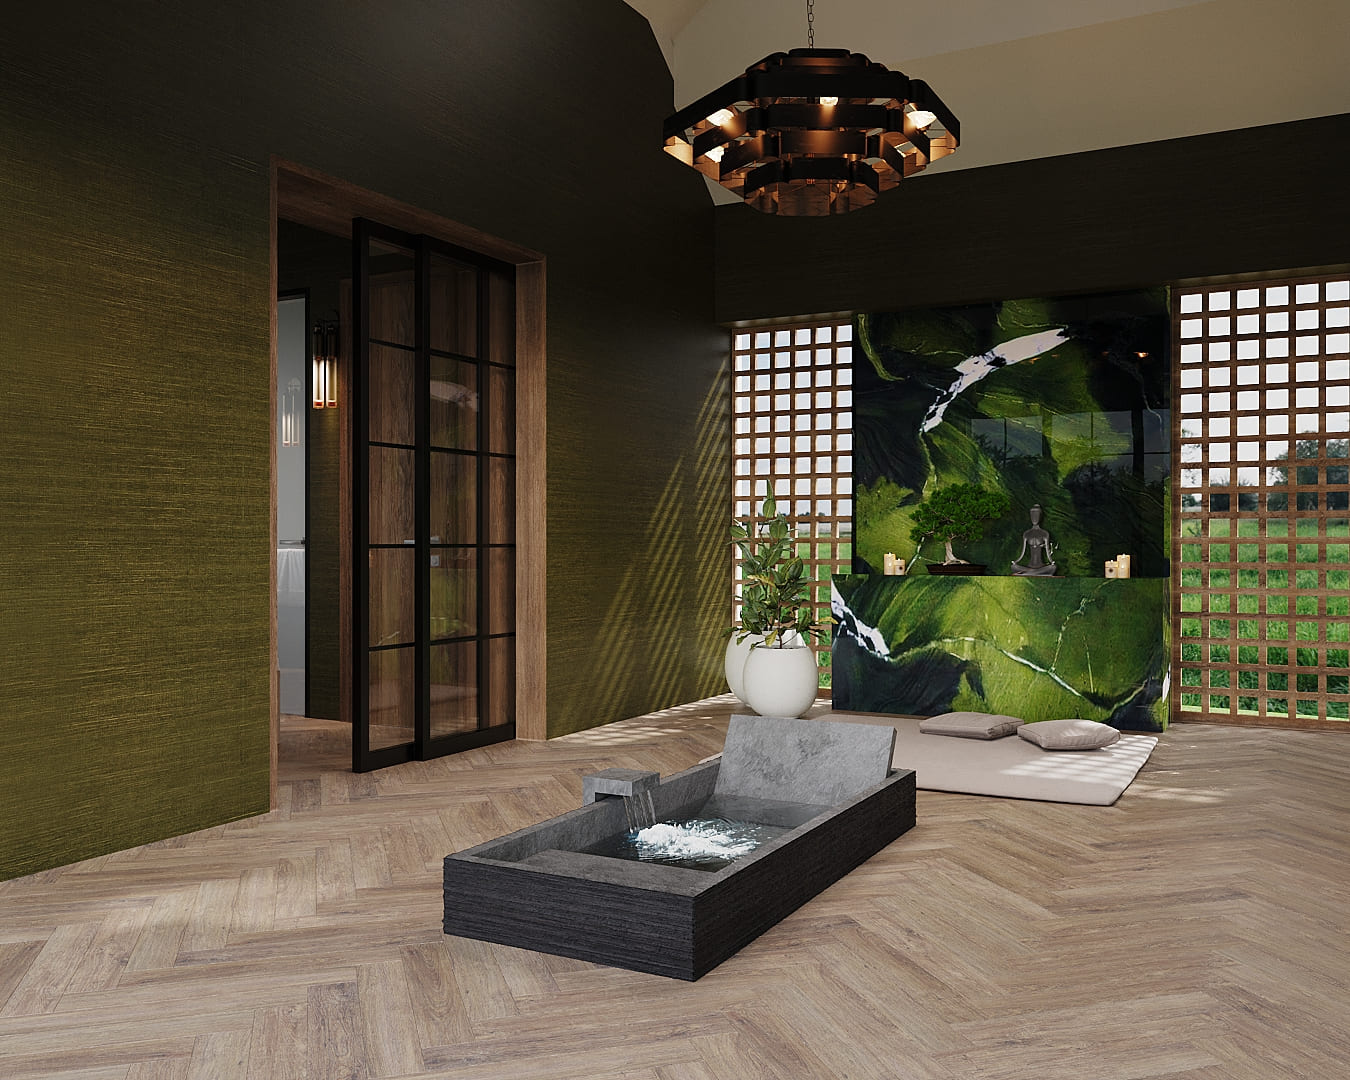
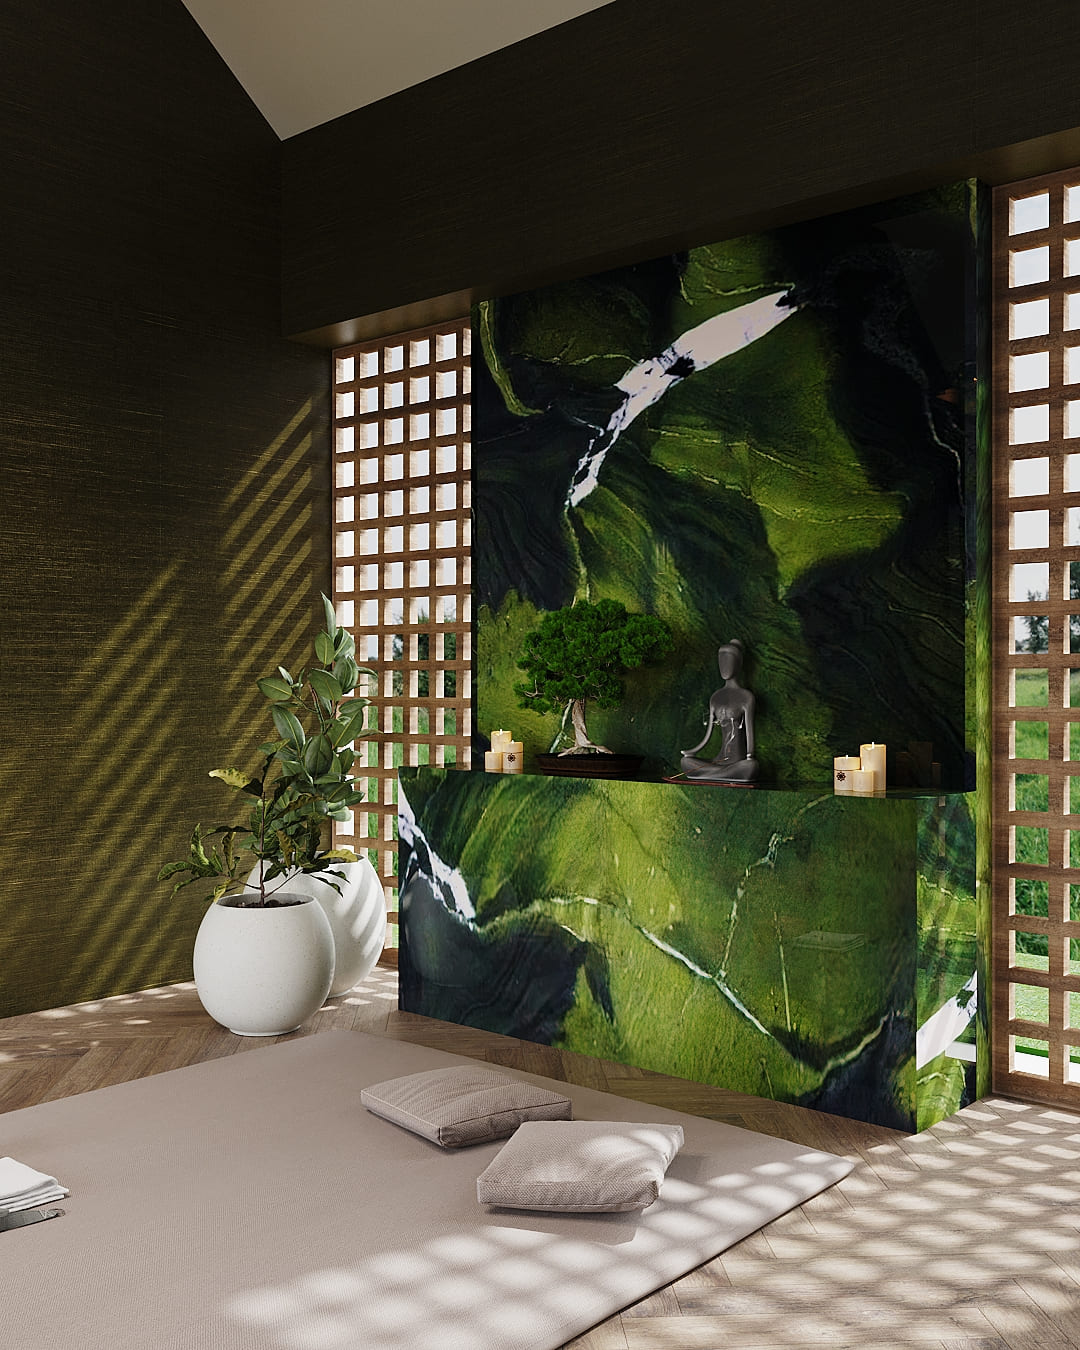
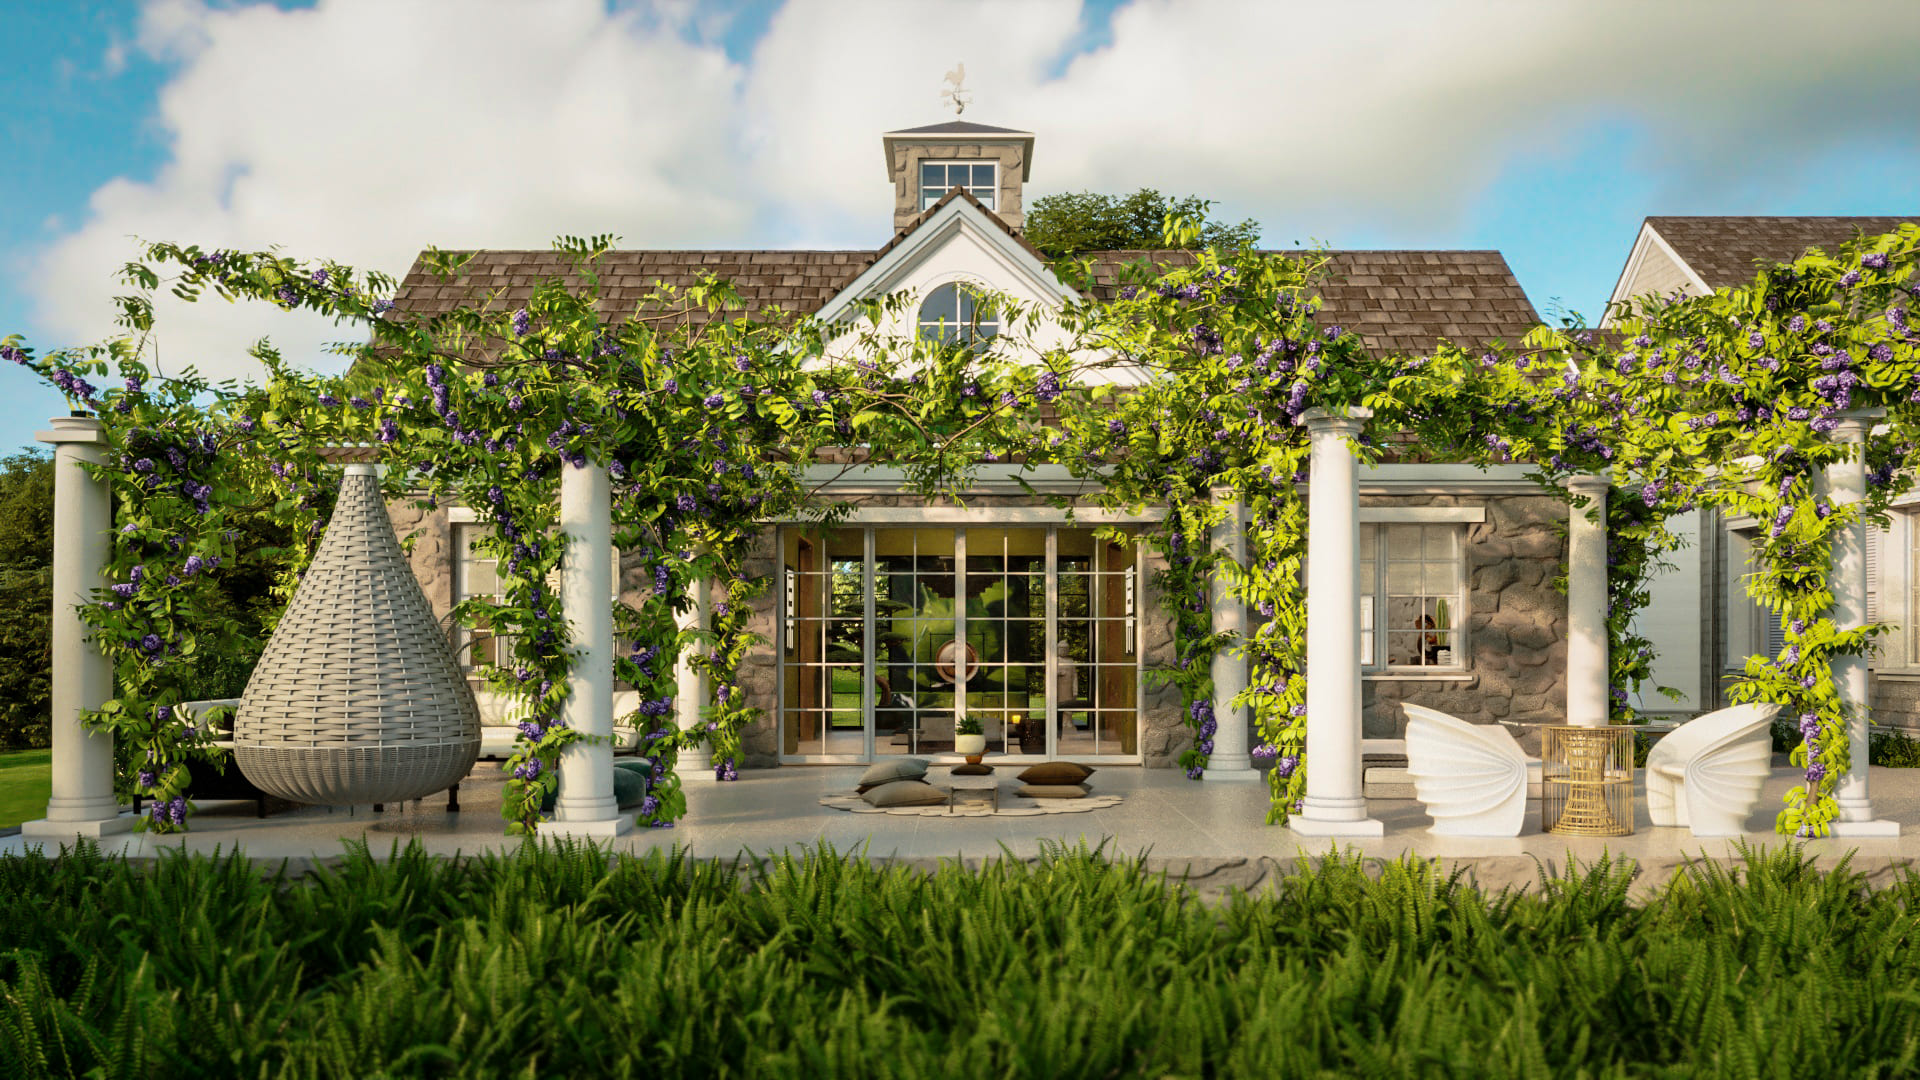
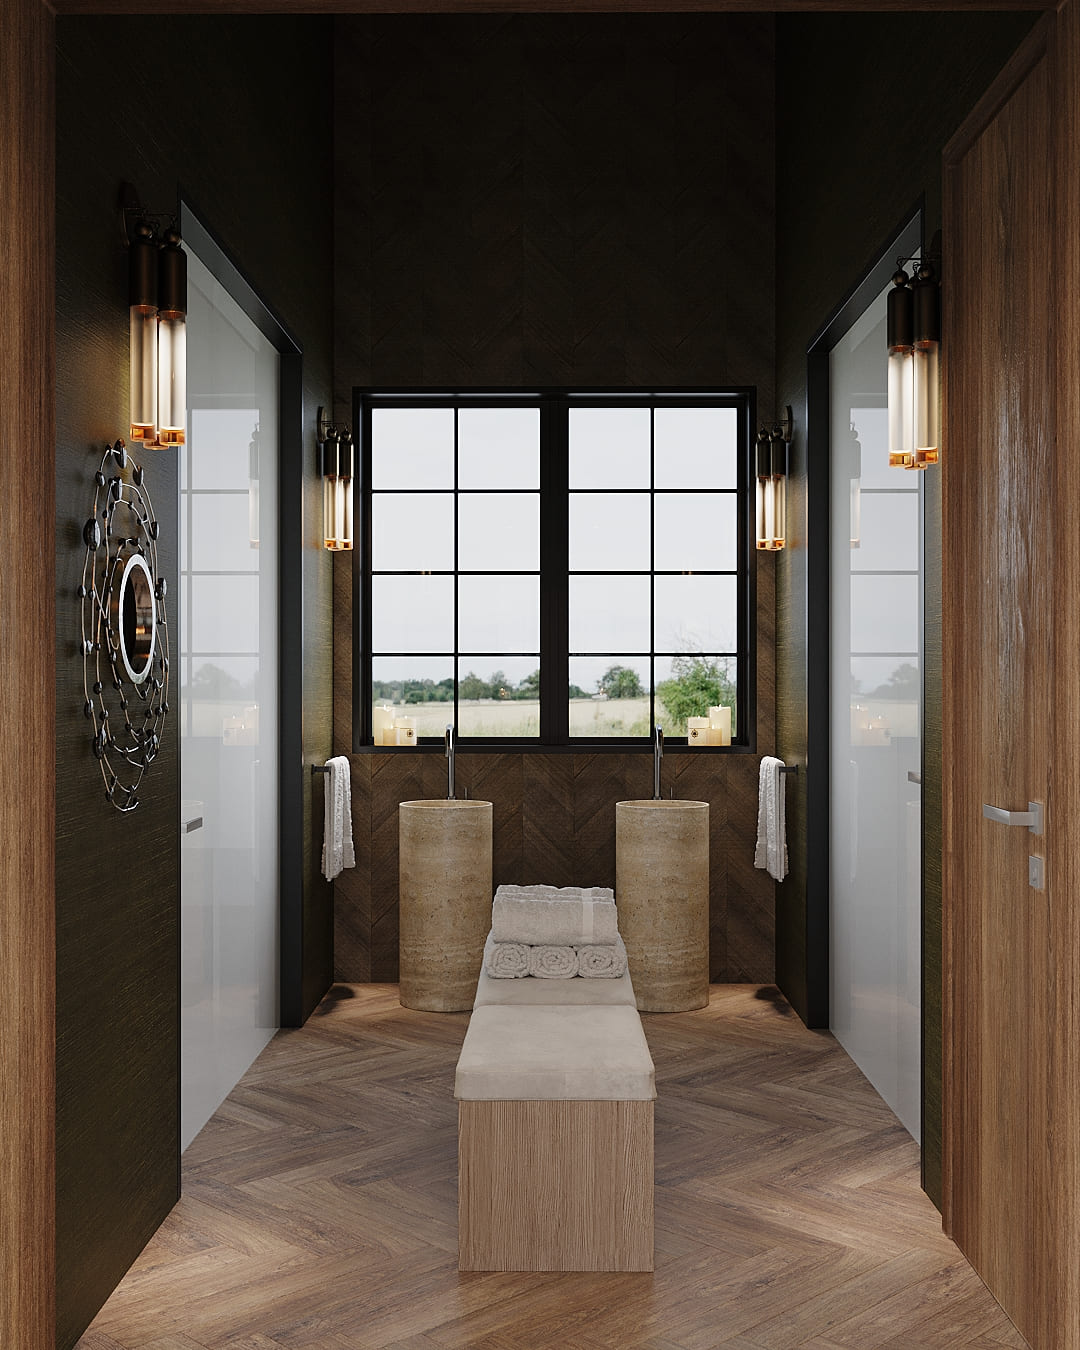
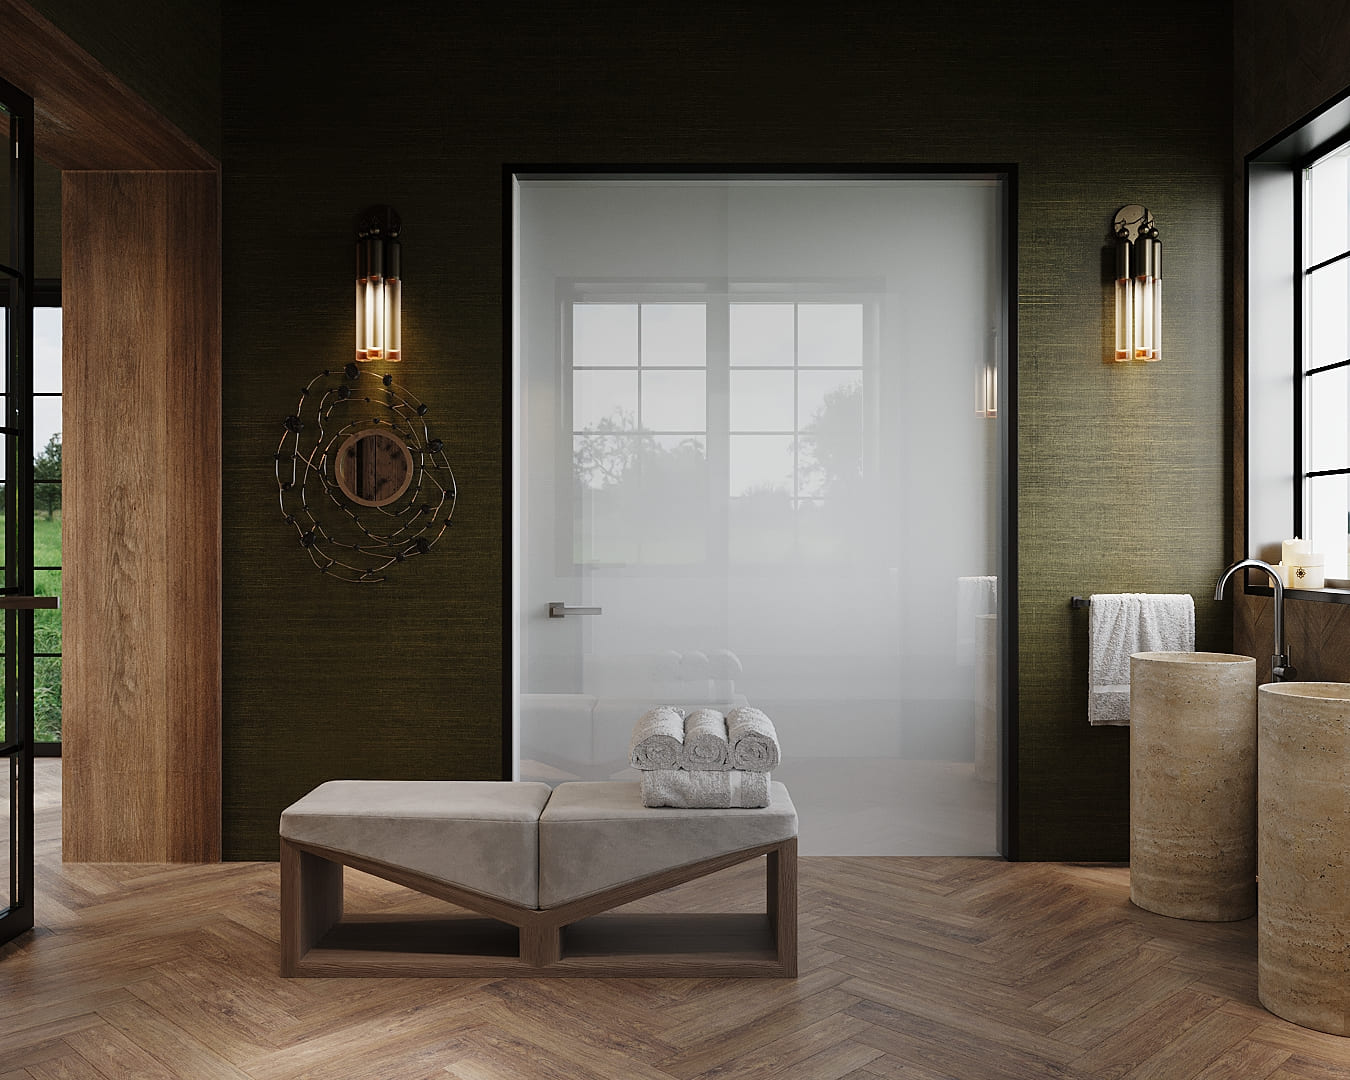
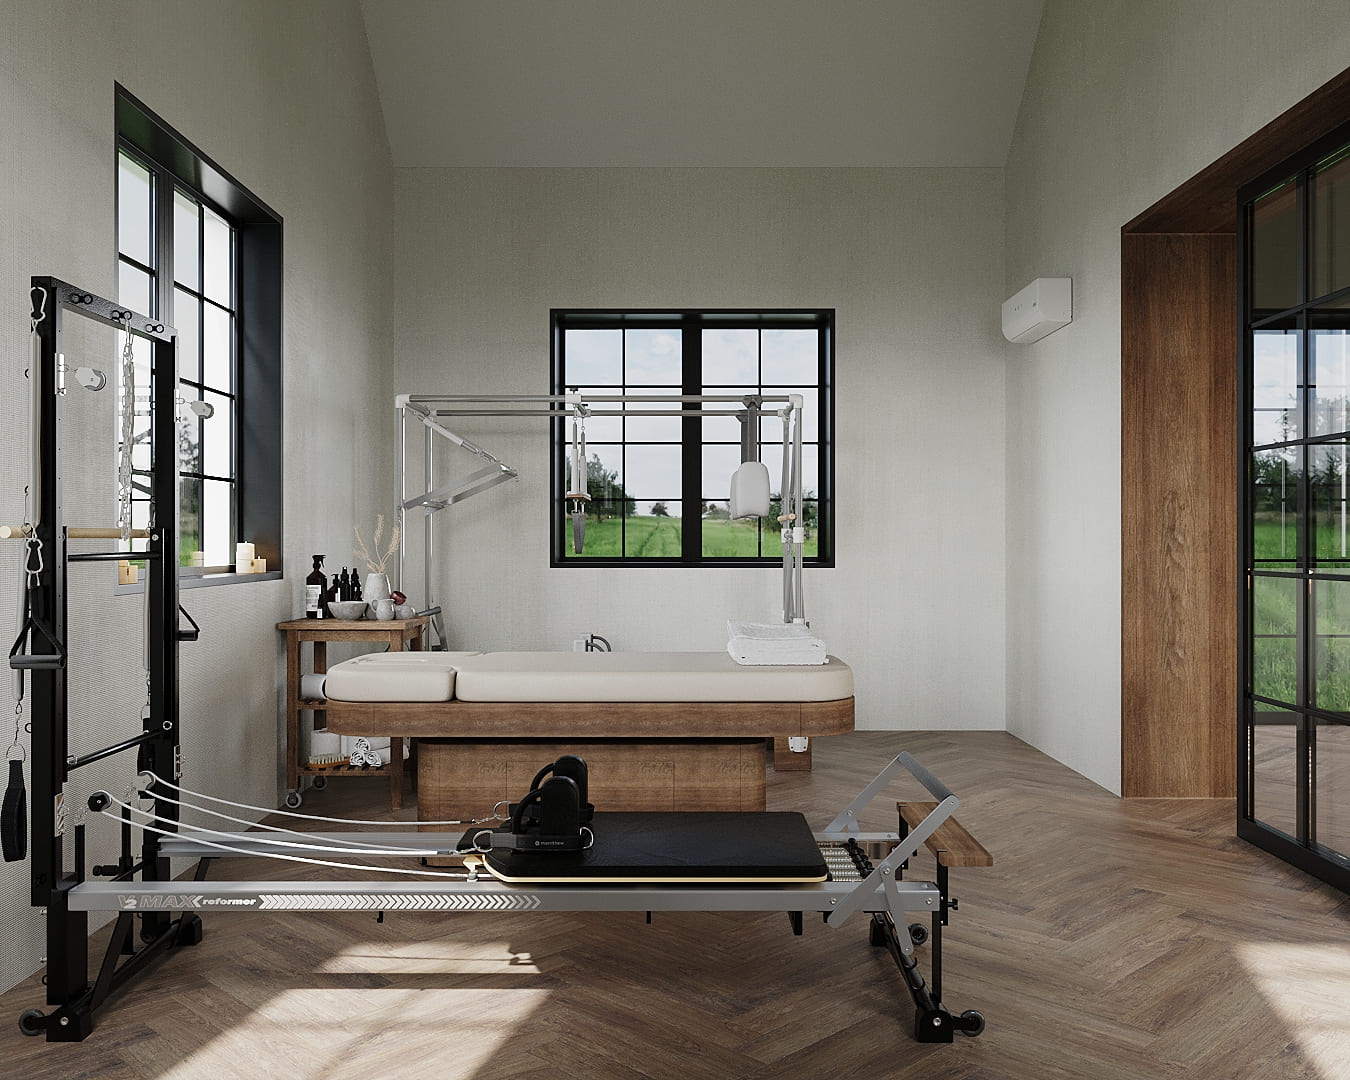
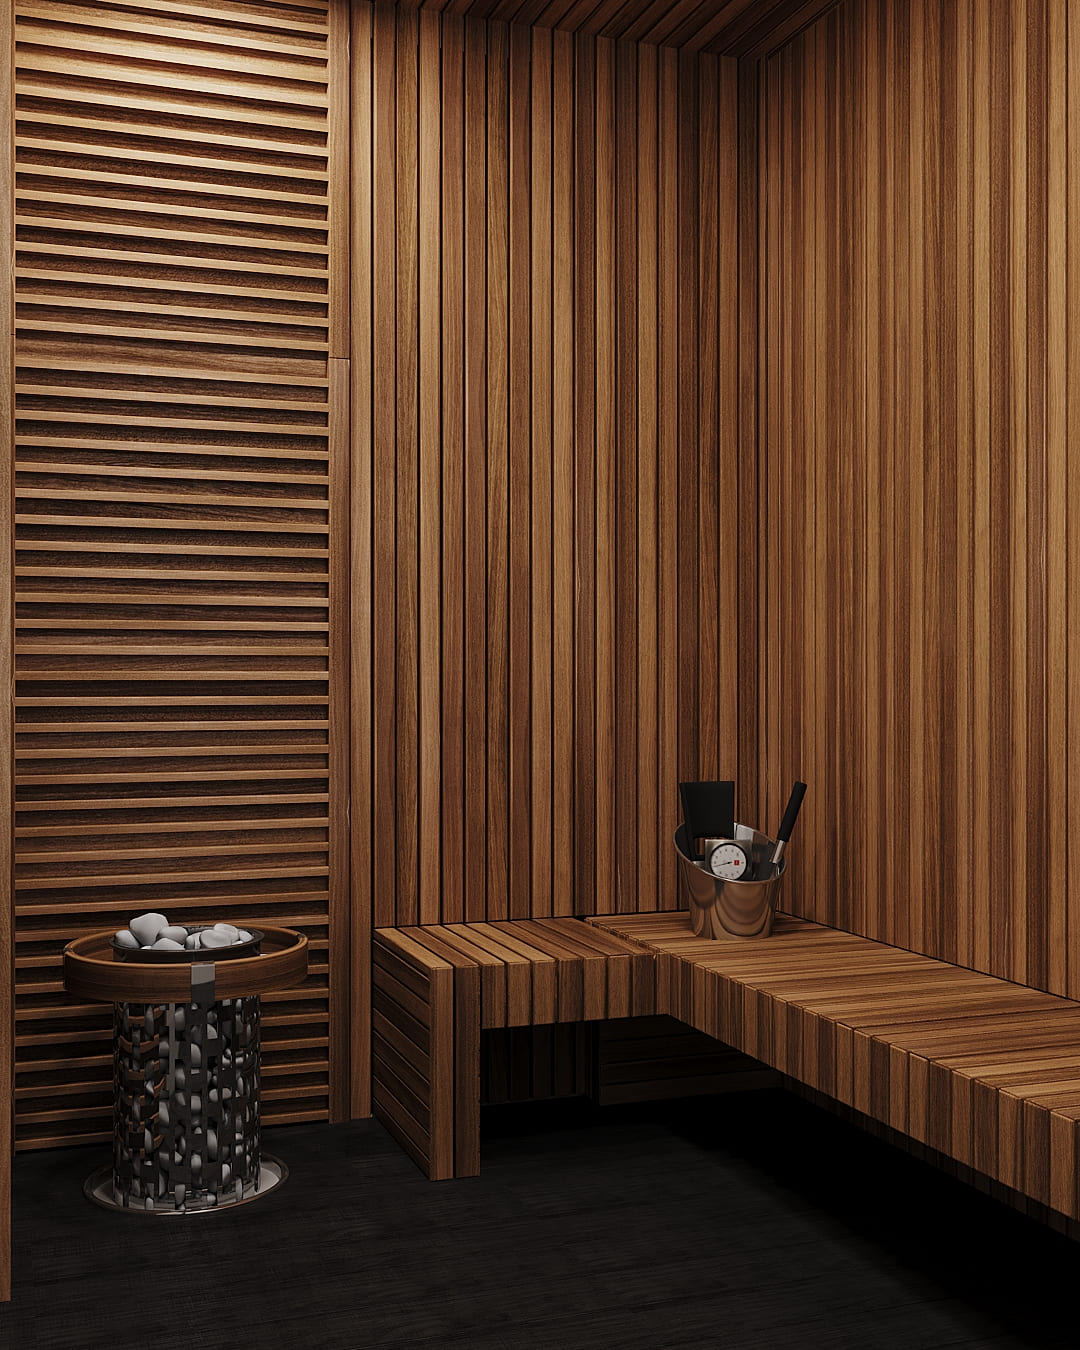
Michel Smith Boyd designed the wellness area. He wanted to fill it with a family-room aura perfect for spending time solo or when entertaining a group.
Phase #1: Source materials provided by the designer
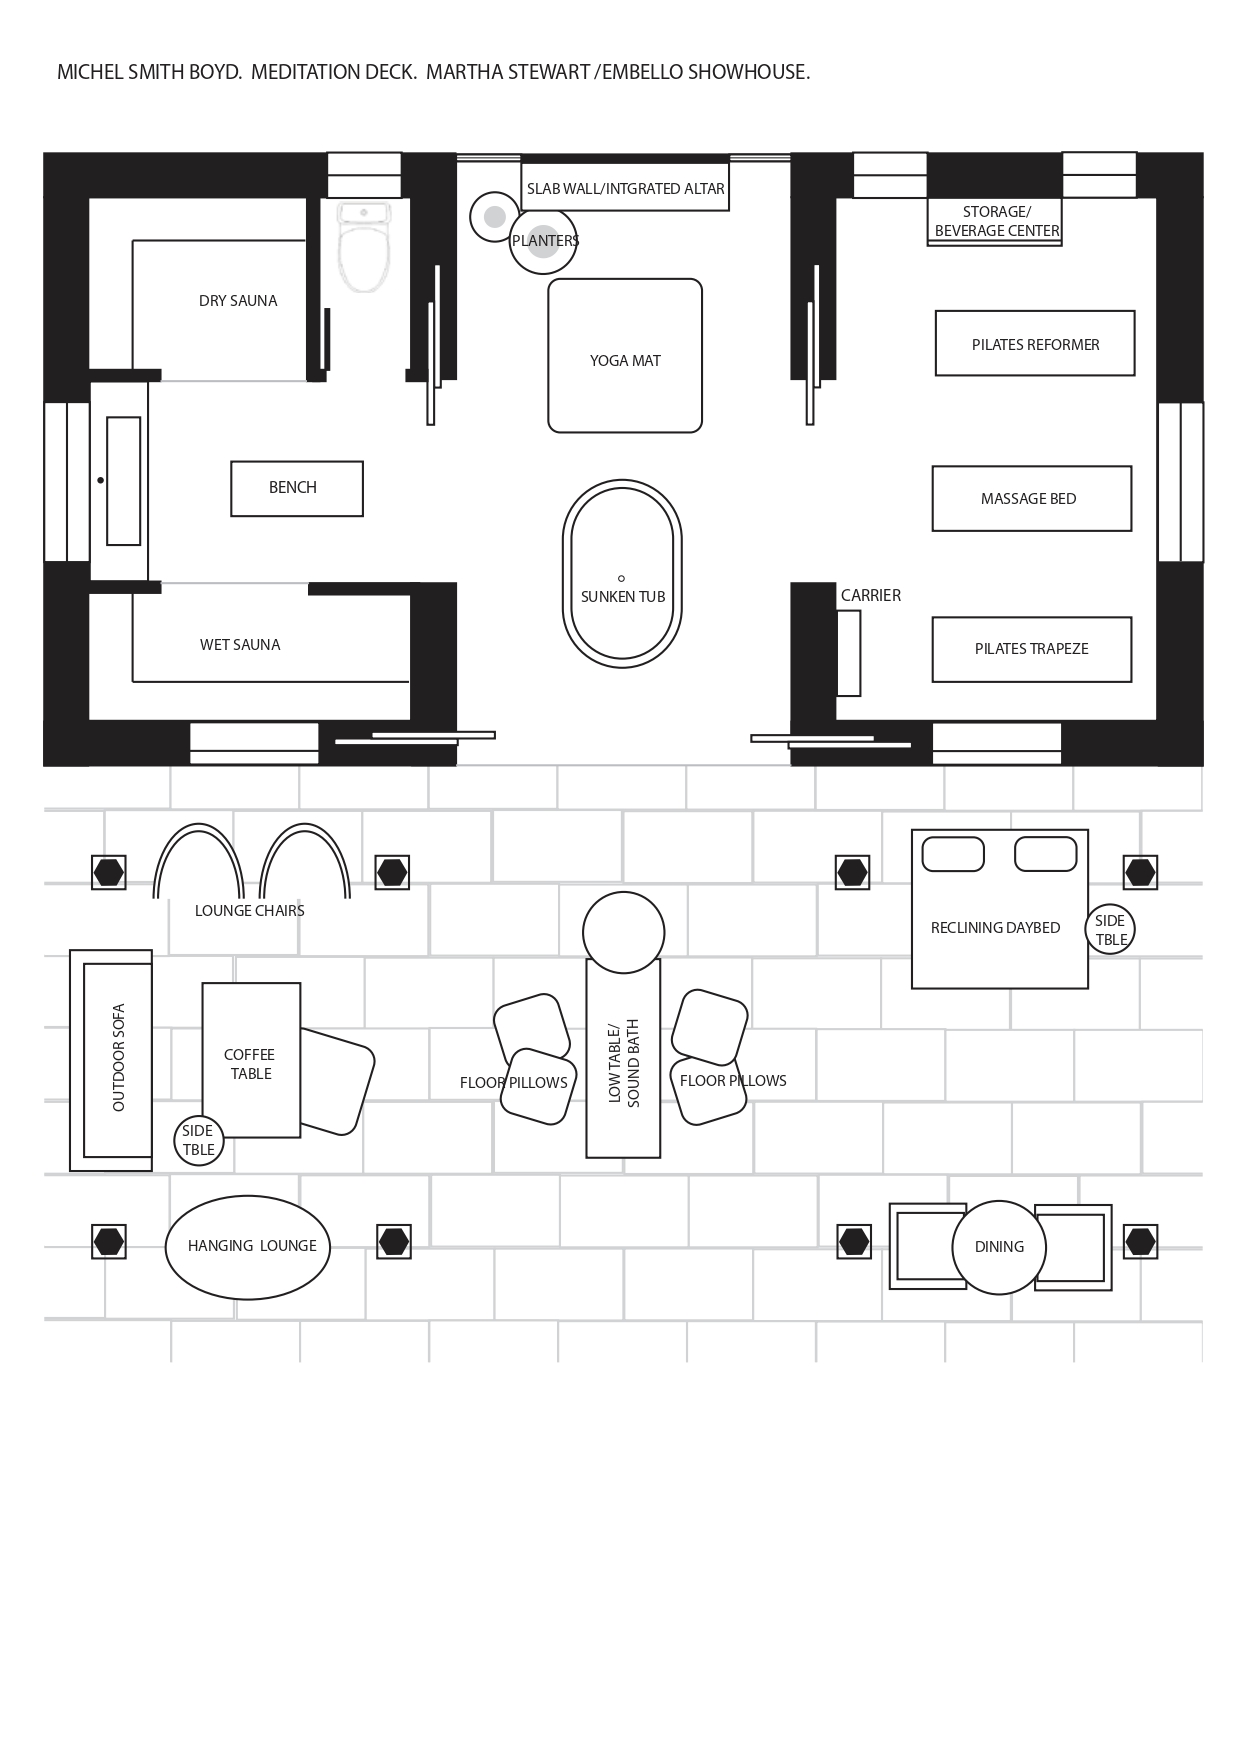
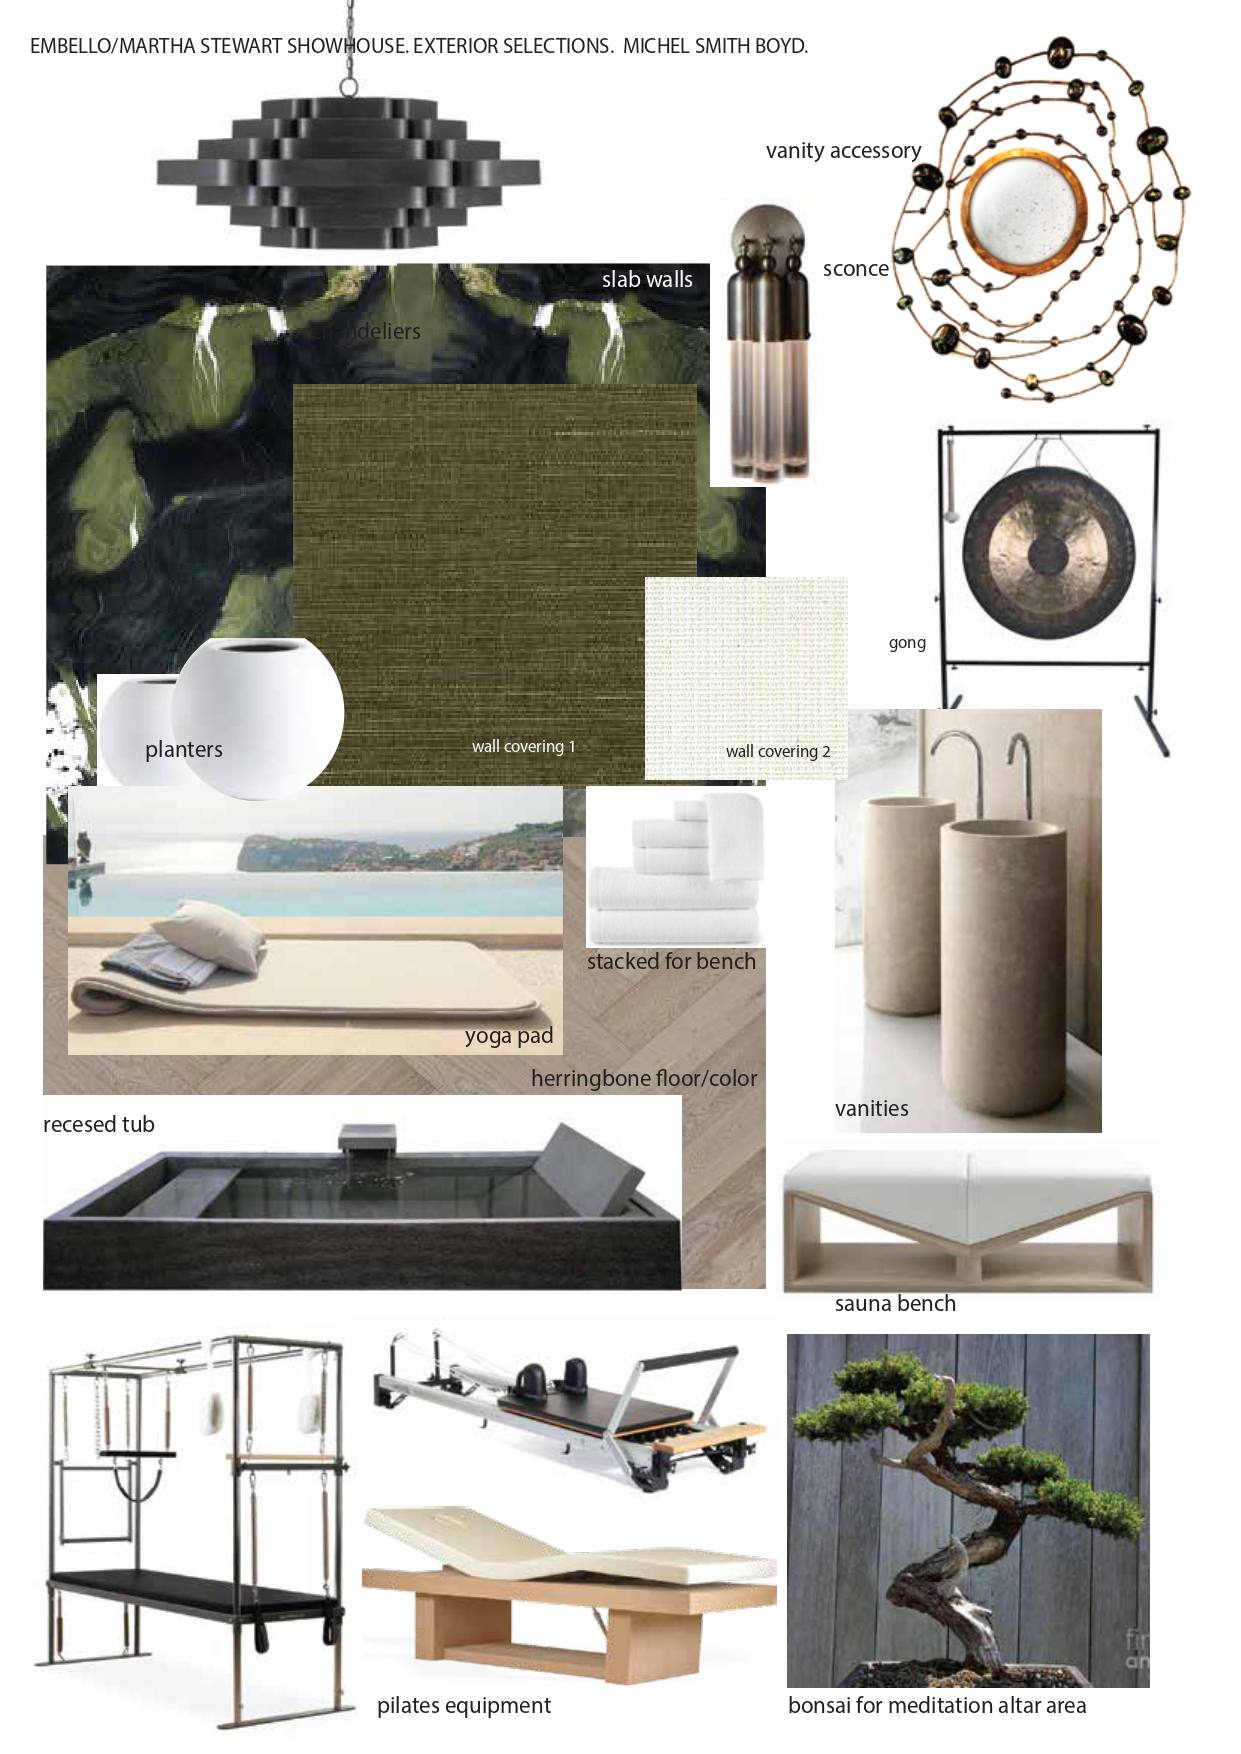
The project's first phase was to gather all the source materials provided by Michel Smith Boyd. This included sketches, inspiration images, a mood board, and a list of furniture and finishes. With these in hand, our team got to work on creating the 3D rendering.
Phase #2: 3D Interior Rendering
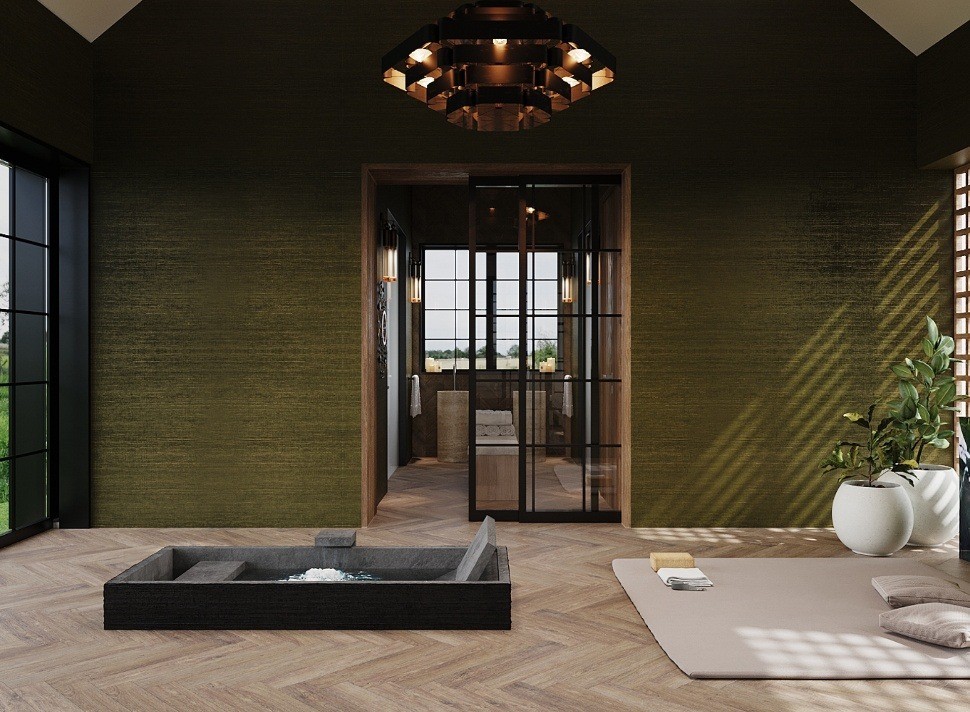
The project's second phase was to create a 3D interior rendering of the wellness area. This part of the process was especially important because it gave us a chance to visualize how all the elements would come together in the final space.
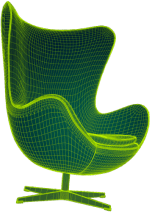
First, we created a basic outline of the room. Then, we added all the furniture, finishes, and accessories according to Michel Smith Boyd's design.
Once everything was in place, we took images of the room from different angles and added lighting and shadows to create a realistic 3D effect.
 |
 |
 |
 |
 |
 |
Phase #3: 3D Virtual Showroom
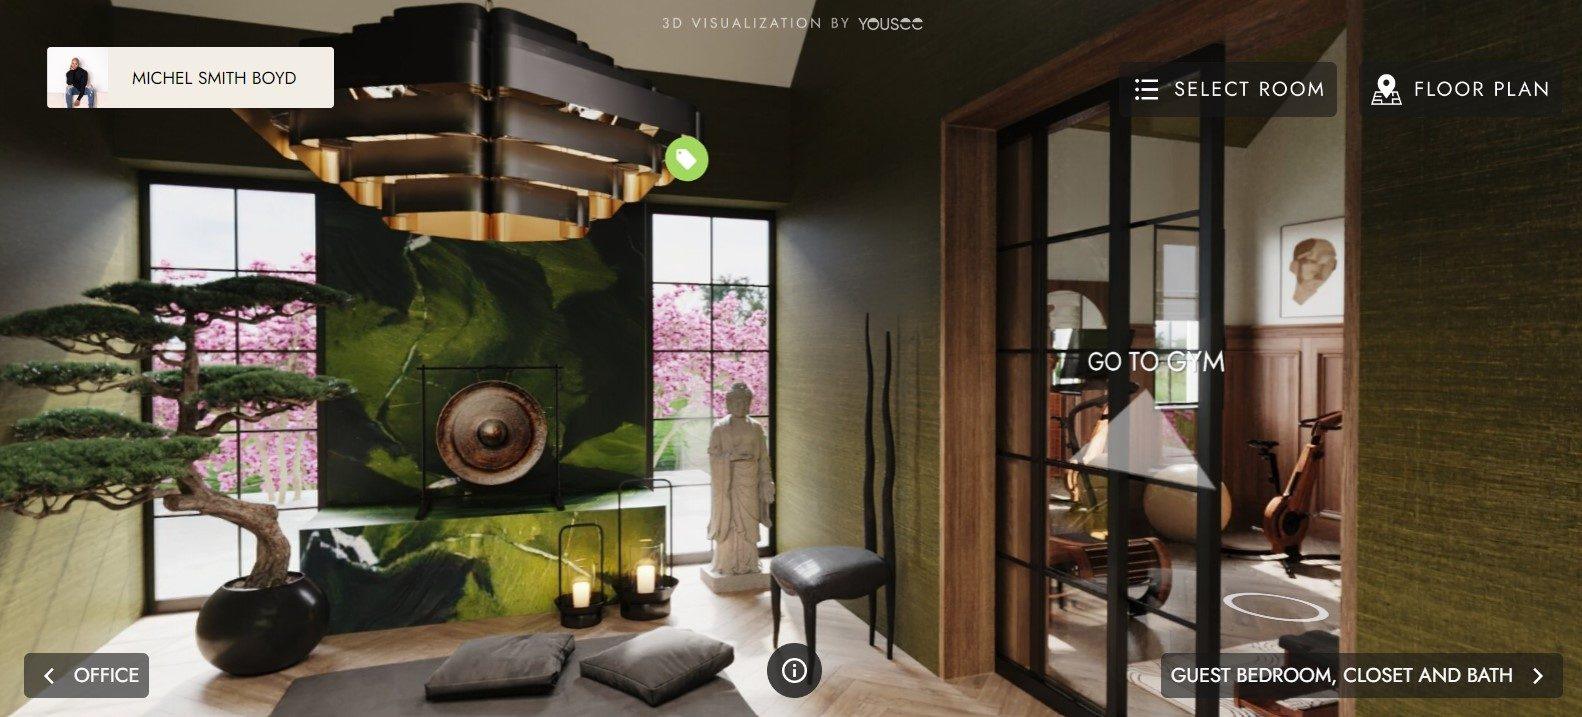
The third phase of the project was to create a 3D virtual showroom of the entire house. This required us to put all the rooms together in one space and make a seamless transition between them.
To do this, we first created a layout of the entire house. Then, we placed all the rooms in their respective positions and made doorways between them.
And that's it! The entire virtual showroom was now complete.
If you're interested in seeing the final product, you can check out the 3D virtual showroom here:
ckick to explore
Phase #4: Animation
The fourth and final phase of the project was to create an animation of the room. We put all the images together and added some transitions to create a smooth animation:
We hope you enjoyed this behind-the-scenes look at our process for creating a 3D interior rendering. If you have any questions or comments, please feel free to reach out to us. We'd be happy to chat!

