This article will share a step-by-step process of a 2-story condo exterior 3D rendering. So let's dive in and explore the nine phases of the creation.
Phase #1. Studying Client Materials
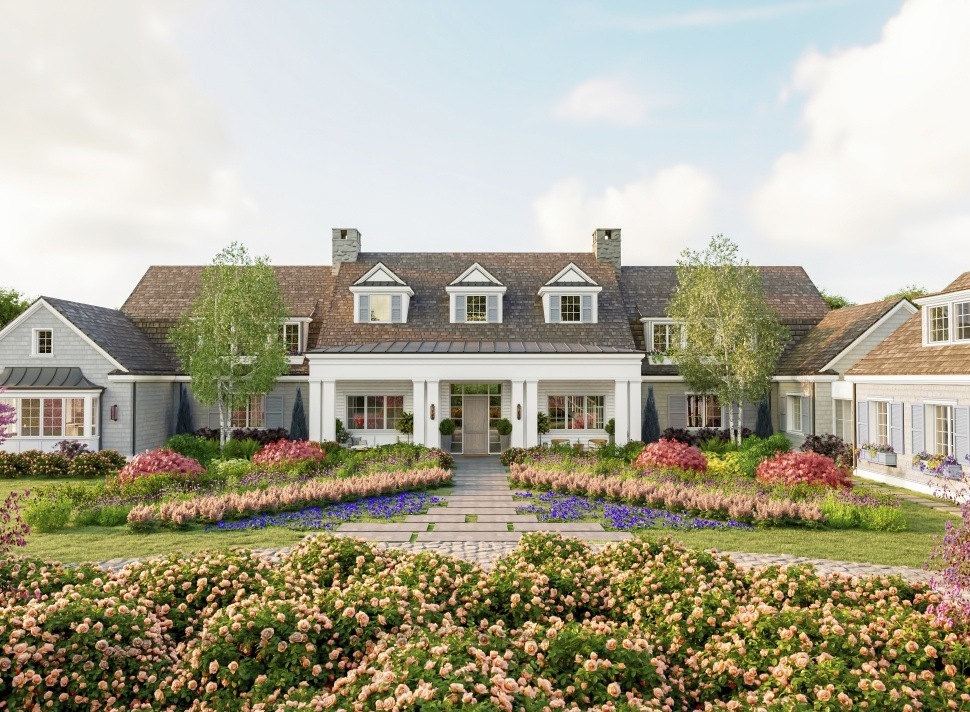
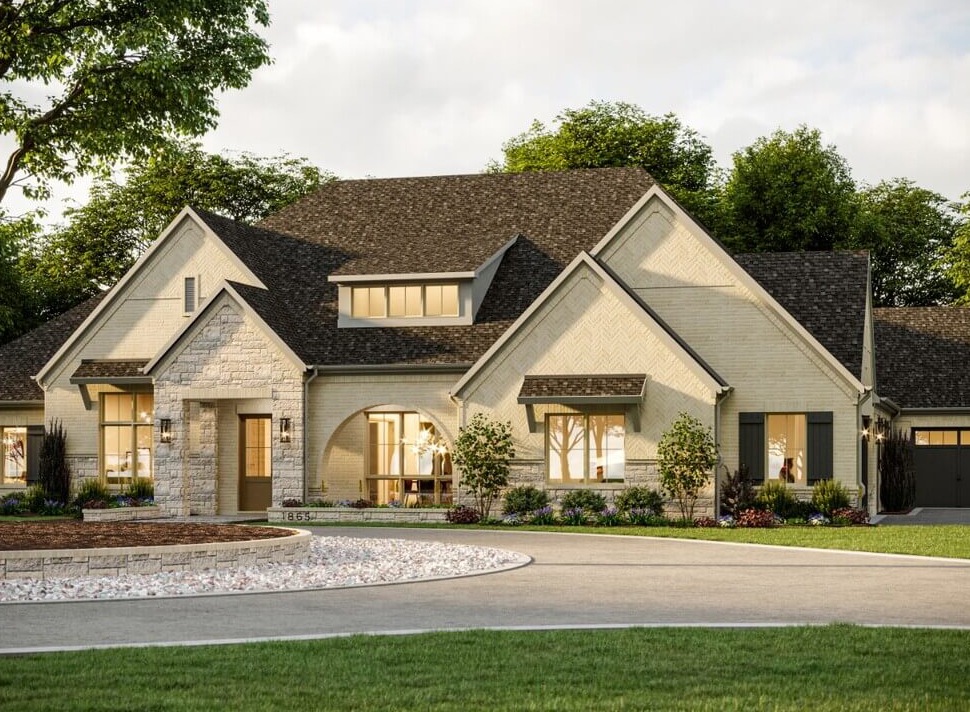
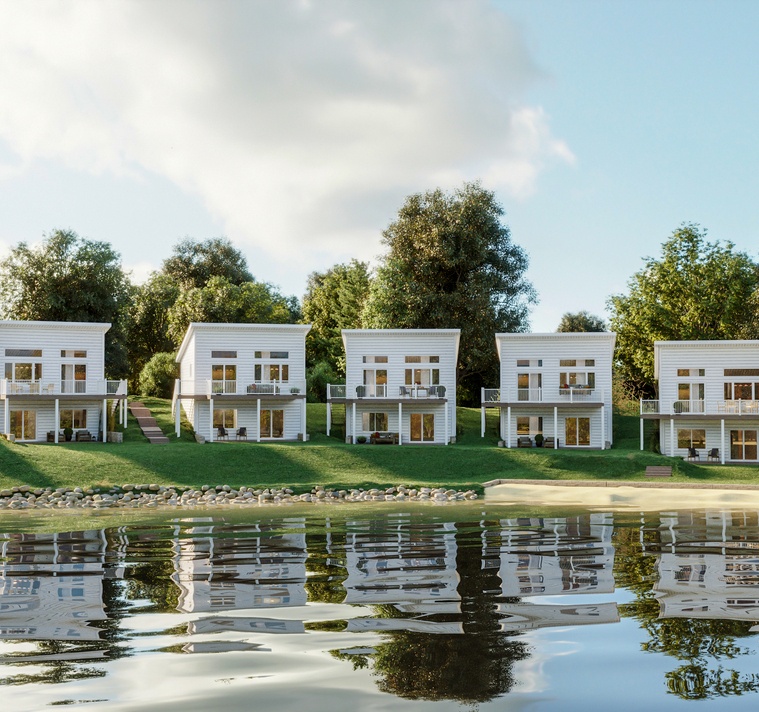
Our client provided a Google Maps link for a better understanding of the location as well as drawings, an image of the house model, and a reference for the facade. So first, we started reviewing the client's provided materials.
 |
 |
 |
 |
 |
Phase #2. Clay Model
We created a clay model of the house based on the materials provided by the client. The client could review the model and provide additional feedback if necessary. We worked closely with them to ensure we captured their vision for the final renderings. During this phase, the client chose the camera angles and perspectives they wanted to see in the final renderings.
 |
 |
 |
 |
Phase #3. Preparing Previews With Materials, Second Draft
After creating the clay model and receiving feedback from the client, we moved on to the first draft preview. We prepared three variations of the renderings with different materials, lighting, and camera angles to give the client a better idea of the final look.
 |
 |
 |
 |
 |
 |
 |
Phase #4. Receiving Client Feedback
The client decided to go with the second one from the provided options but asked us to make some changes:
1) to make white windows and black handrails;
2) to make the same color throughout the entire facade.
He assumed that it was the same color as on the front facade of the building, but the sunlight was too strong and not allowing us to see the fully correct color:

Phase #5. Making Changes, Third Draft
It was not difficult for us to make such minor changes, so we sent a new version to the client very quickly:
 |
 |
Phase #6. Fourth Draft
The client was satisfied with the result but asked us to send this same version but with black windows and black garage doors so he can compare which he likes best.
No problem! We send the second option to make it easier for our client to make a choice:
 |
 |
 |
 |
Phase #7. Getting New Comments From the Client and Making the Fourth Draft.
The client chose the one with black windows and garages of the two proposed options. He also requested several changes and gave us detailed feedback on what they wanted to see in the final renders: they asked us to add some people to the roof and balconies. In another place, we were asked to add handrails.
Make minor edits? No problem! ;)We prepared a new version with the changes requested by the client. Here's what we got:

This option satisfied our client almost 100%, but he asked us to remove the cars in the final renders.
Phase #9. Final Draft
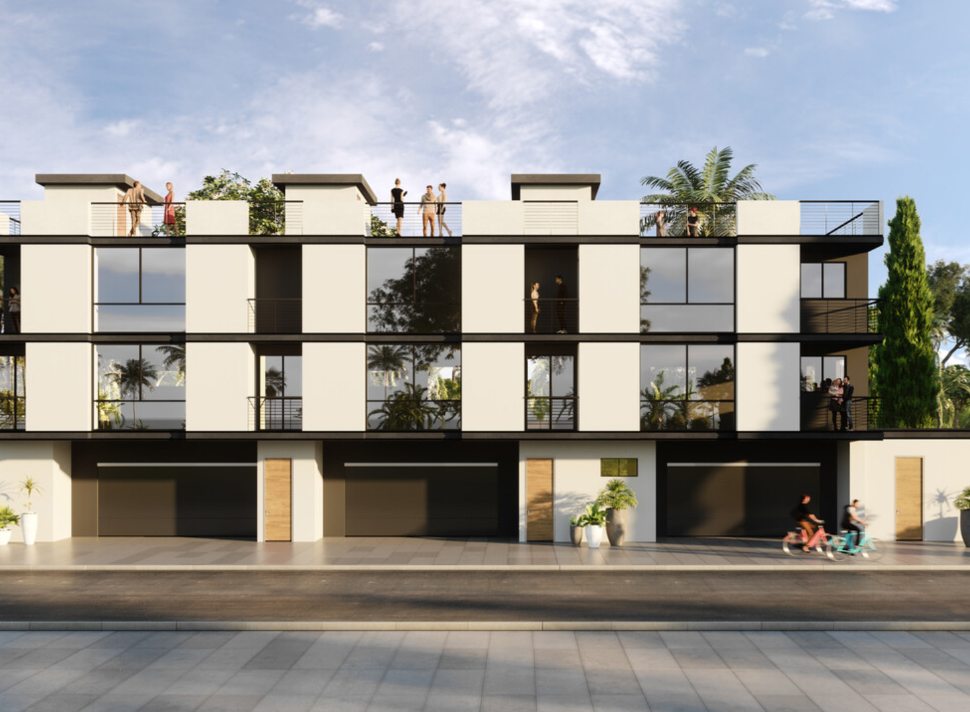
After receiving the final edits from the client, we made these minor tweaks to the renders and submitted the final draft. We created high-quality renderings with all the requested materials, lighting, and camera angles. Hurray — this time, the result turned out exactly as needed! The client was thrilled and left beautiful feedback — and so were we.
 |
 |
Conclusion
We hope you enjoyed reading about this exciting project just as much as we enjoyed writing it!
If you're interested in working with us on your next 3D visualization project, contact us today to learn more about our services and how we can help bring your ideas to life.