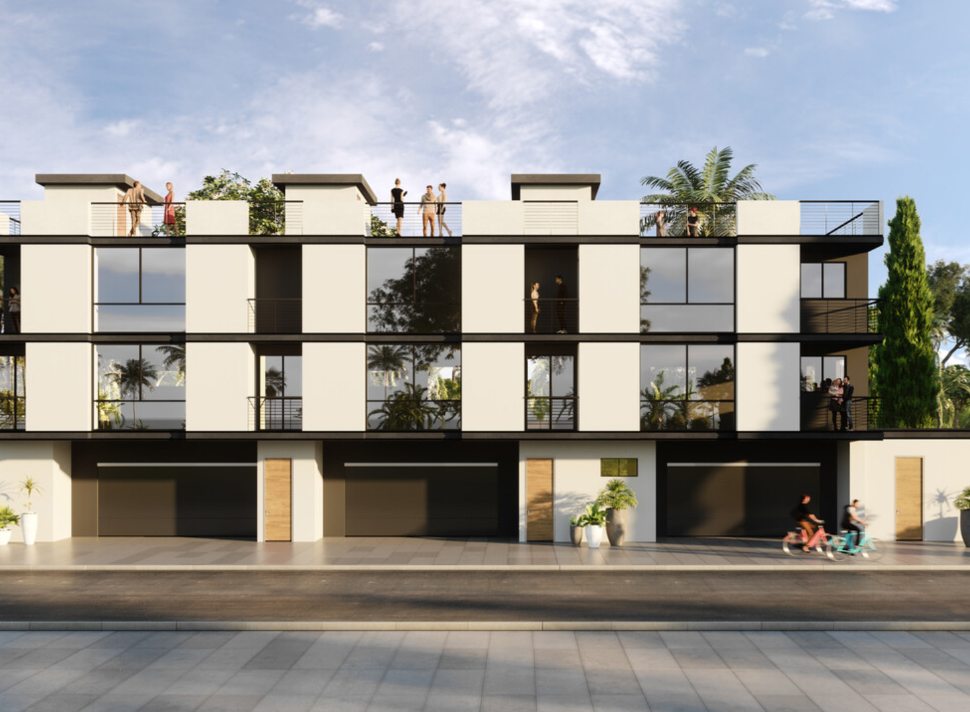
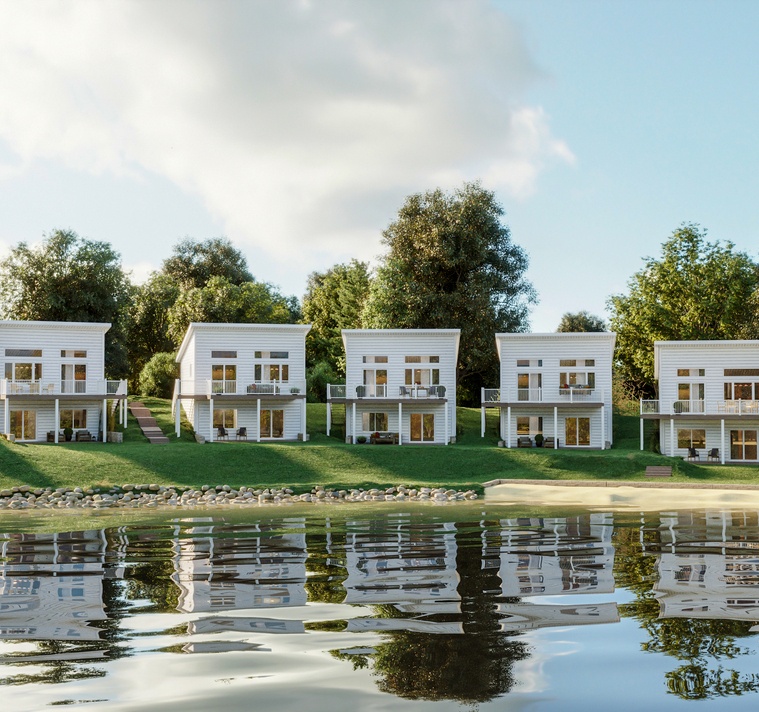
Projects are very different: sometimes we make skyscrapers at the peak of architectural fashion, and sometimes traditional houses in the old style. But we are firmly convinced that even old fashion can look loud and bright. This was the task that one of our loyal clients came to us.
Phase #1. Checking Out the Client's Resources
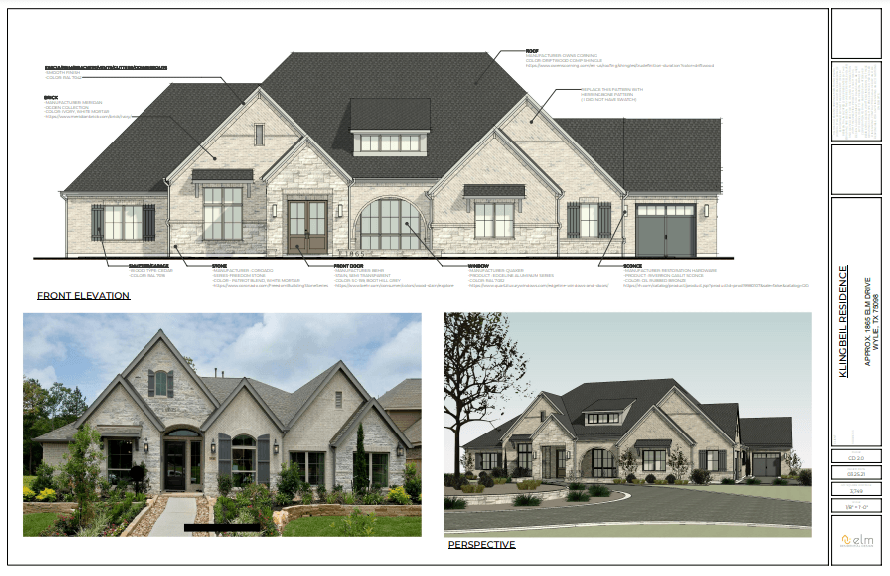
We always begin our work on a project with a thorough study of the client's materials. We work with a wide variety of information, but this time the customer provided us with diagrams, references, and Revit files.
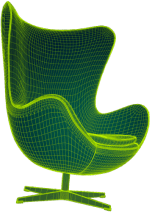
Phase #2. Clay Model
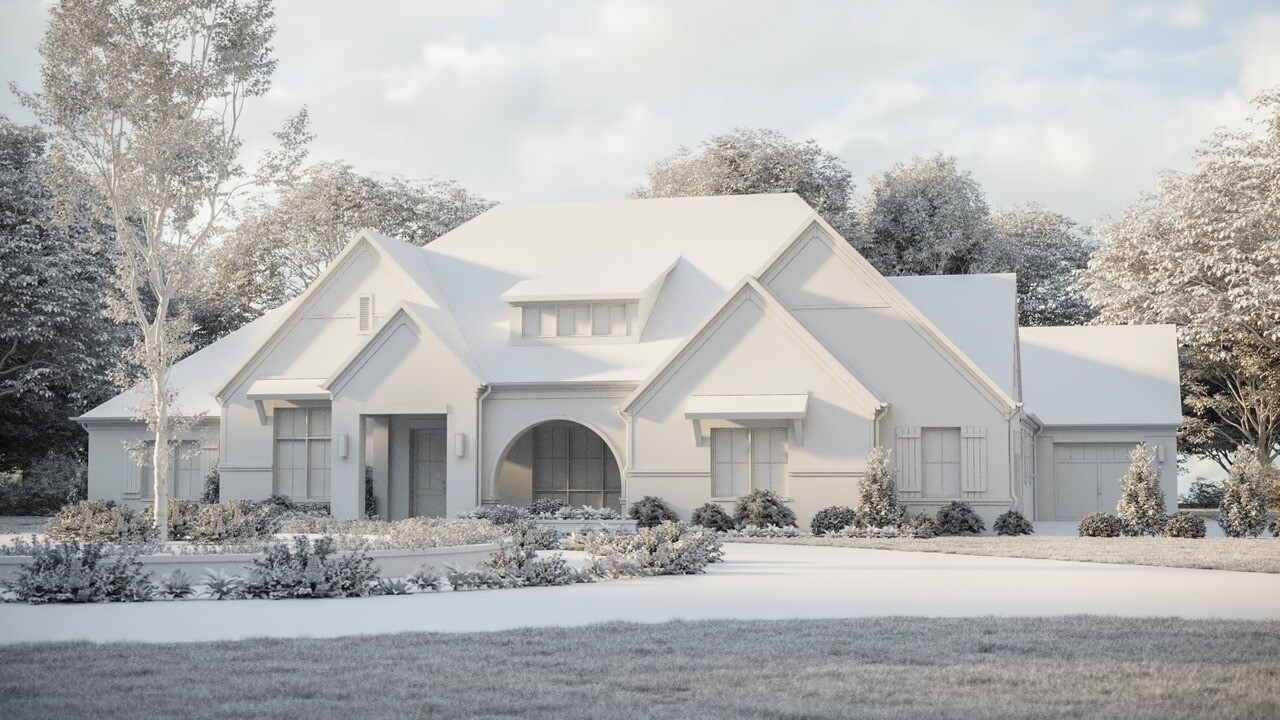
Once we clearly understood the client's vision and requirements, we stepped into creating a clay model of the Residence.
We used this model to test the overall look and feel of the visualization. We then sent the clay model to the client for feedback:
Phase #3. Analyzing Customer Comments
Before starting towork on the next stage, as always, we waited for the comments from the client on our first developments.
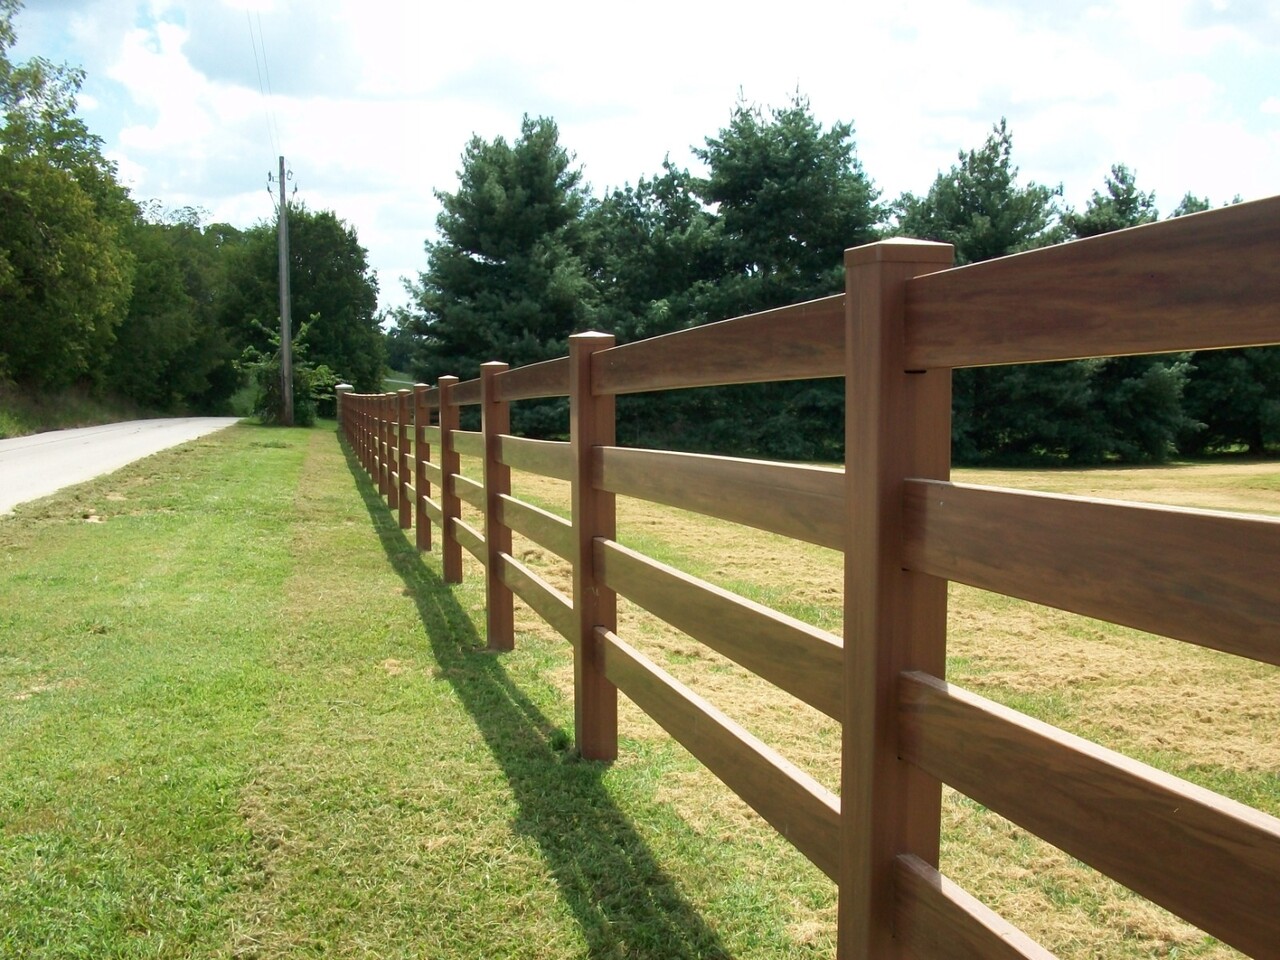
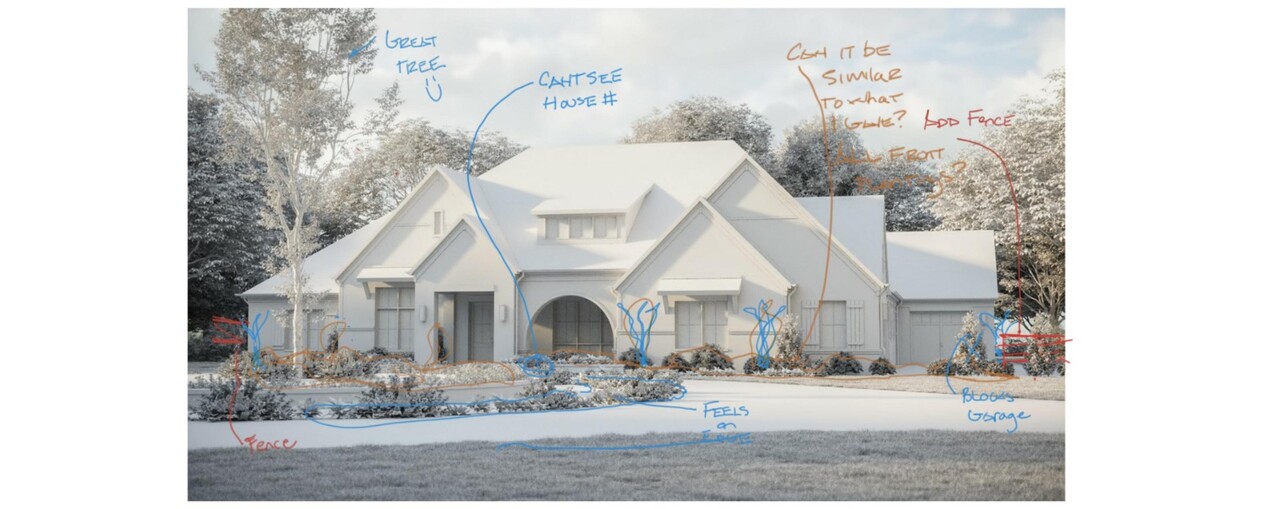
The client's response was swift and pleasant for our team: he commented that everything looked great and asked us to change the landscaping and add a wooden fence.
Phase #4. 3D Renders With Details and Materials, First Draft
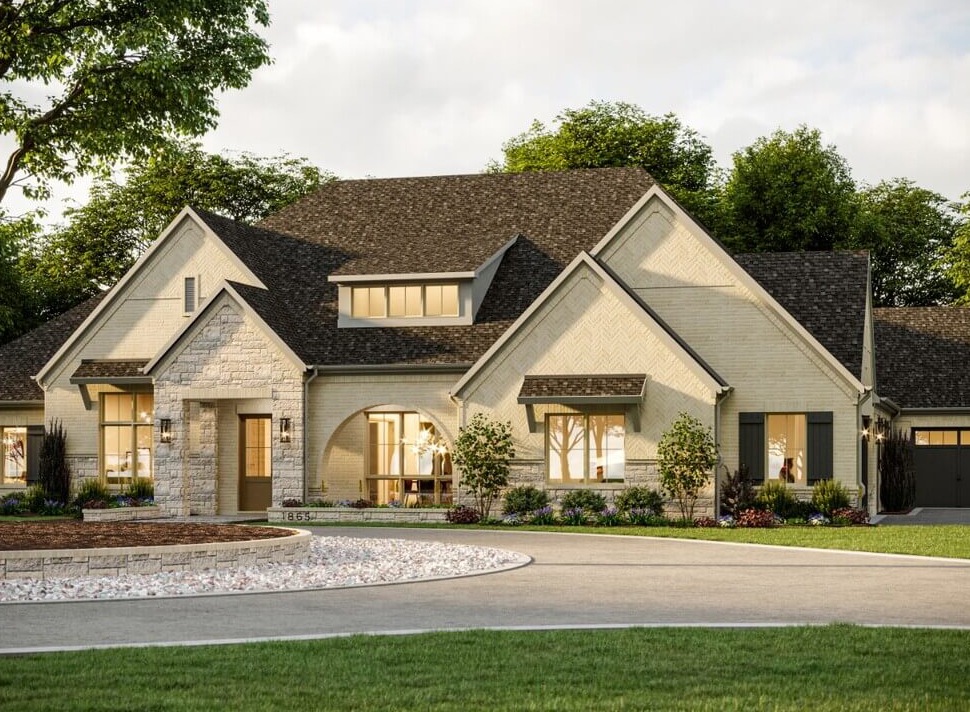
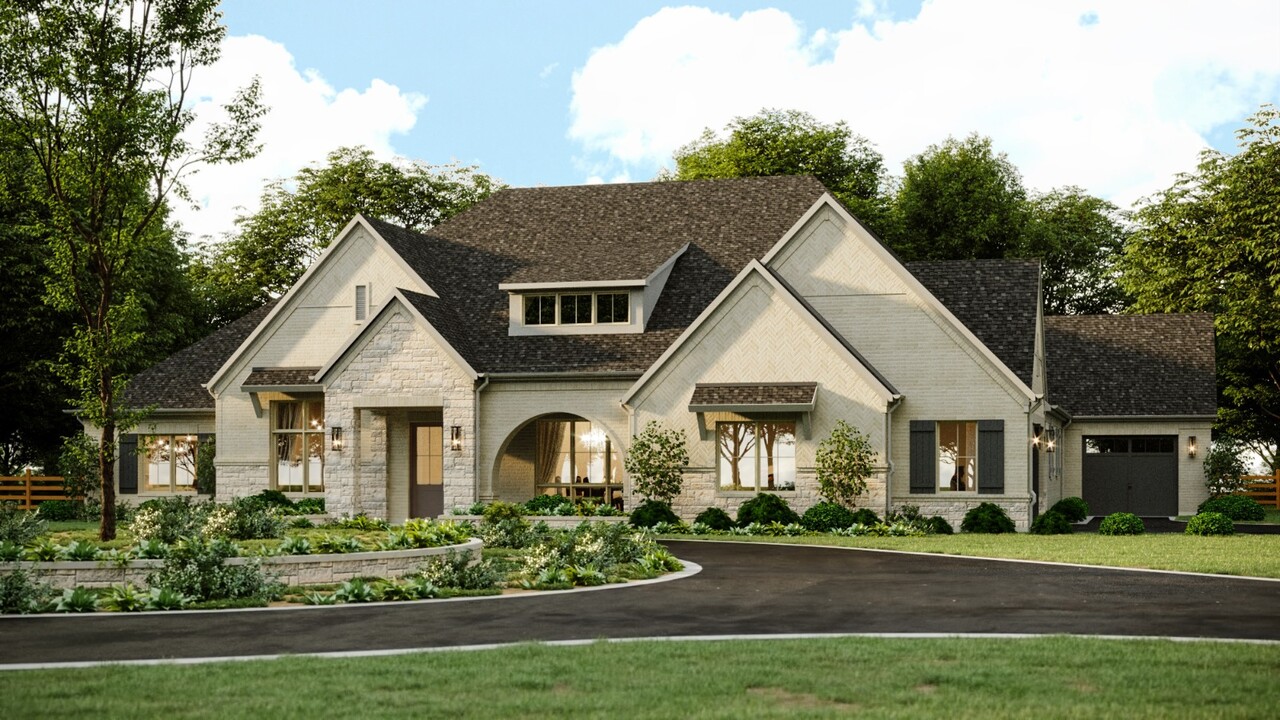
After receiving feedback from the client, we moved on to the next step, which was to create 3D renders of the Residence with details and materials. We experimented with different textures, colors, and lighting to make a realistic and visually appealing representation of the building. Then we created the first draft of the visualization and, once again, sent it to the client for feedback.
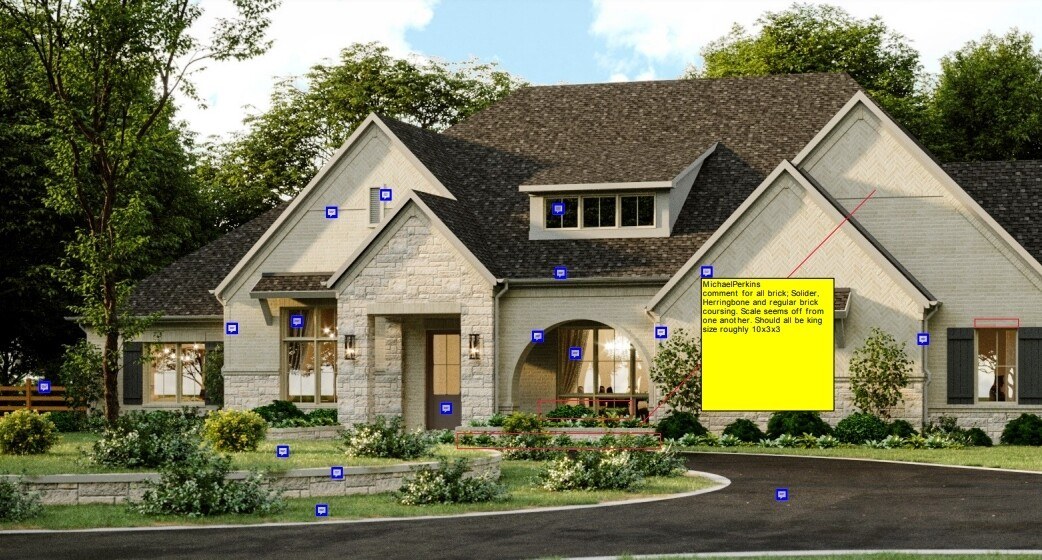
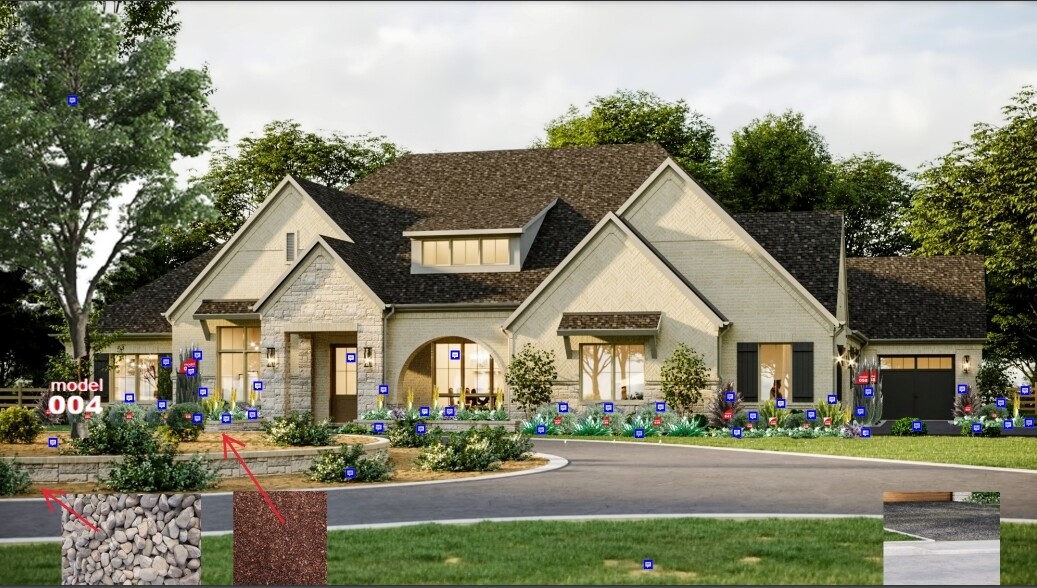
The customer left his comments for us right on the picture, which is always very convenient for work:
Phase #5. 3D Renders With Details and Materials, Second Draft
The client's desire is law for us; these are not empty words. In strict accordance with the changes proposed by the customer, we prepared a new version of the project and submitted it to him:
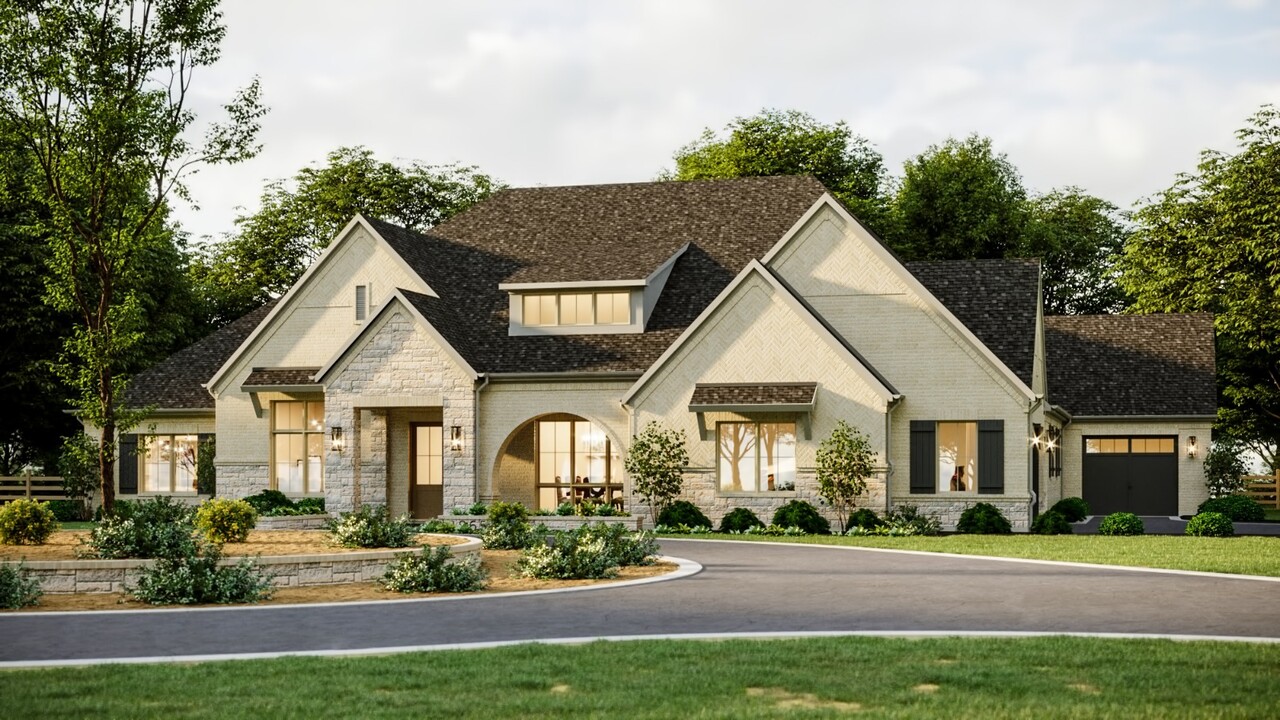
The client's reaction was very positive: he told us that the architecture of the building was great, but asked us to try other landscaping options.
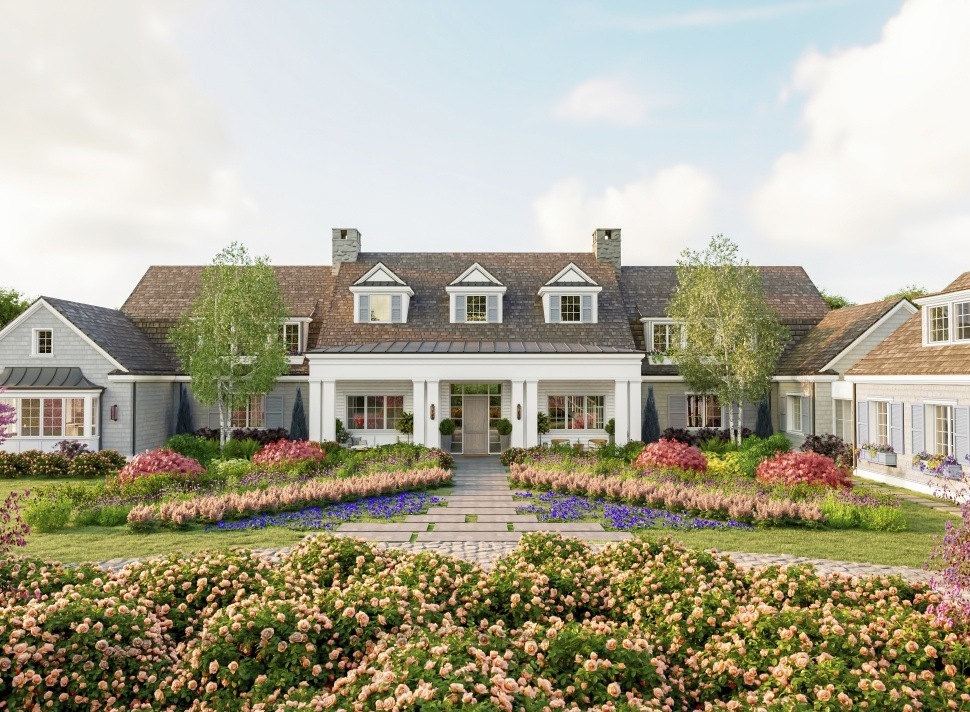
According to him, the intent was really to layer it with different shades of greens with the hedges, create height at the corners, and pops of color/texture along all boarders. He also asked us to add openings in foyer, since home is viewable from the inside:
Phase #6. 3D Renders With Details and Materials, Third Draft
And again, we carefully made all the changes proposed by the client. Can you spot the differences?
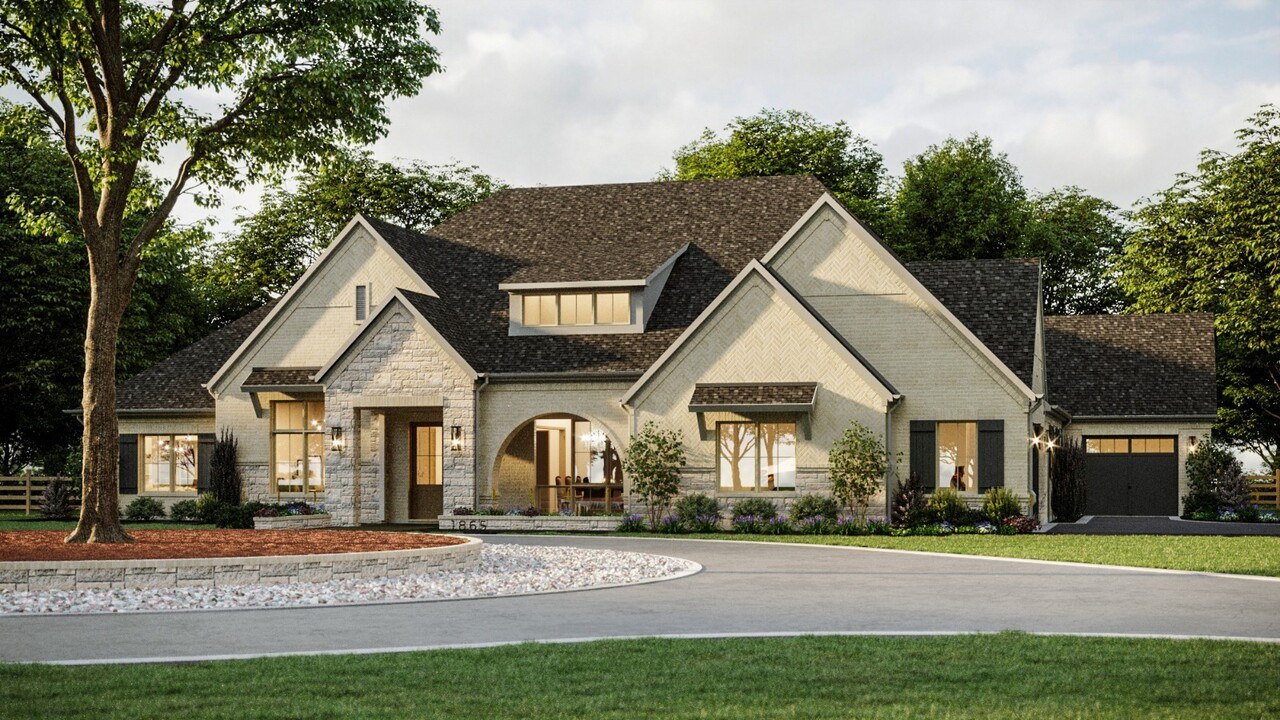
Our customer sincerely thanked us for our efforts and added a few small comments, expressing confidence that we are already close to the desired result:
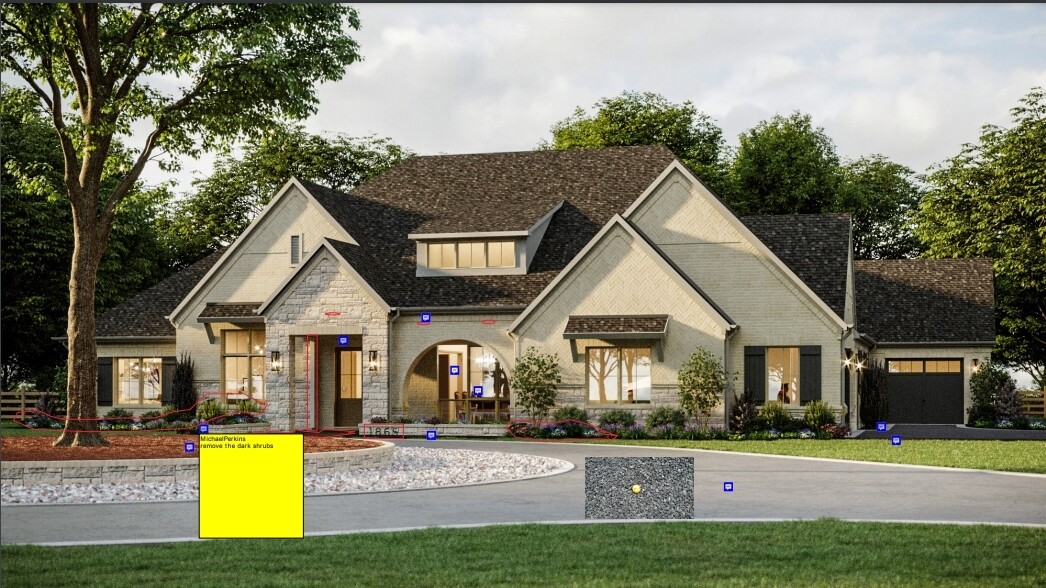
Phase #7. 3D Renders With Details and Materials, Fourth Draft
The client asks for corrections - YouSee's team makes them!
Here's what we got after making a new batch of changes.
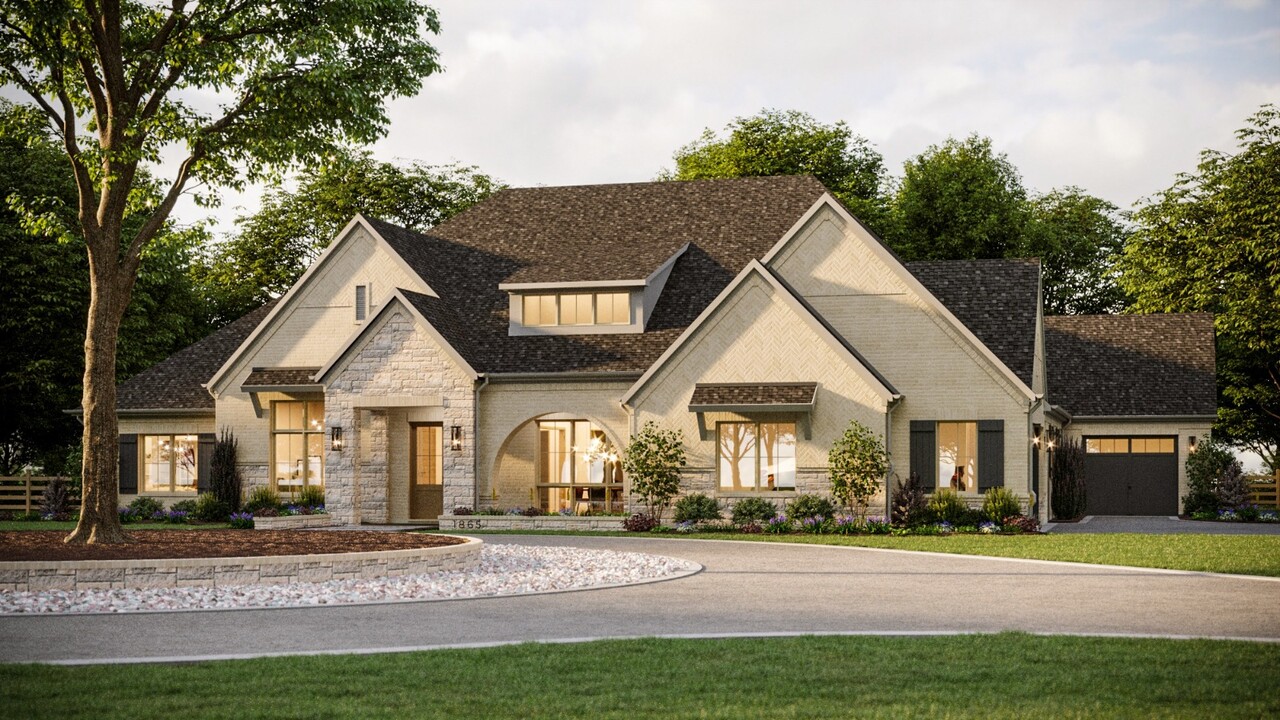
The client, as usual, reflected his comments directly on the picture - and this approach is really very convenient in such a creative but precision-requiring process like ours.
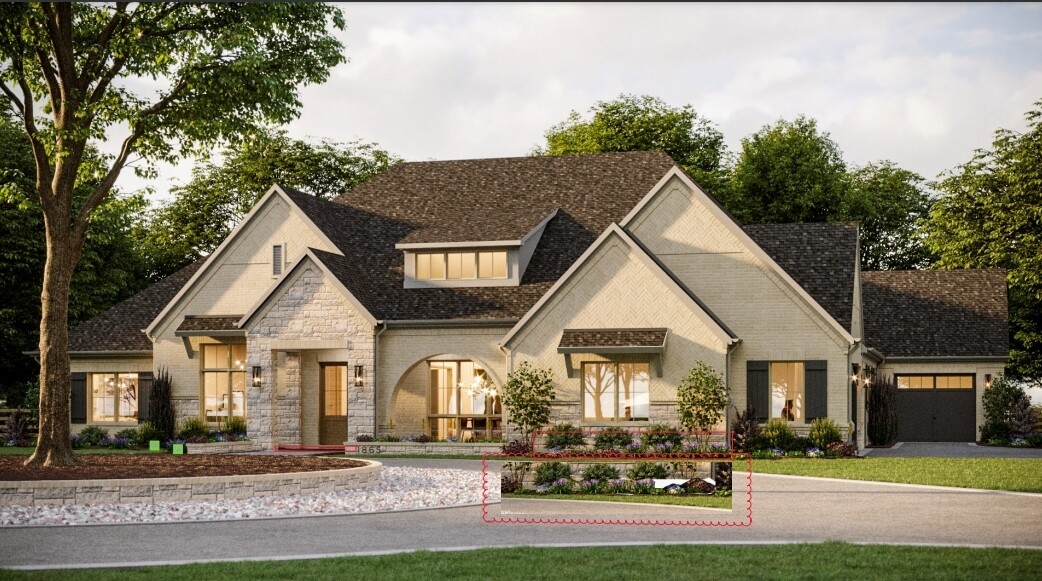
Phase #8. 3D Renders With Details and Materials, Sixth Draft
We again made the required changes and sent the result to our customer. The changes may seem very nuanced to you, but they are there. Take our word for it!
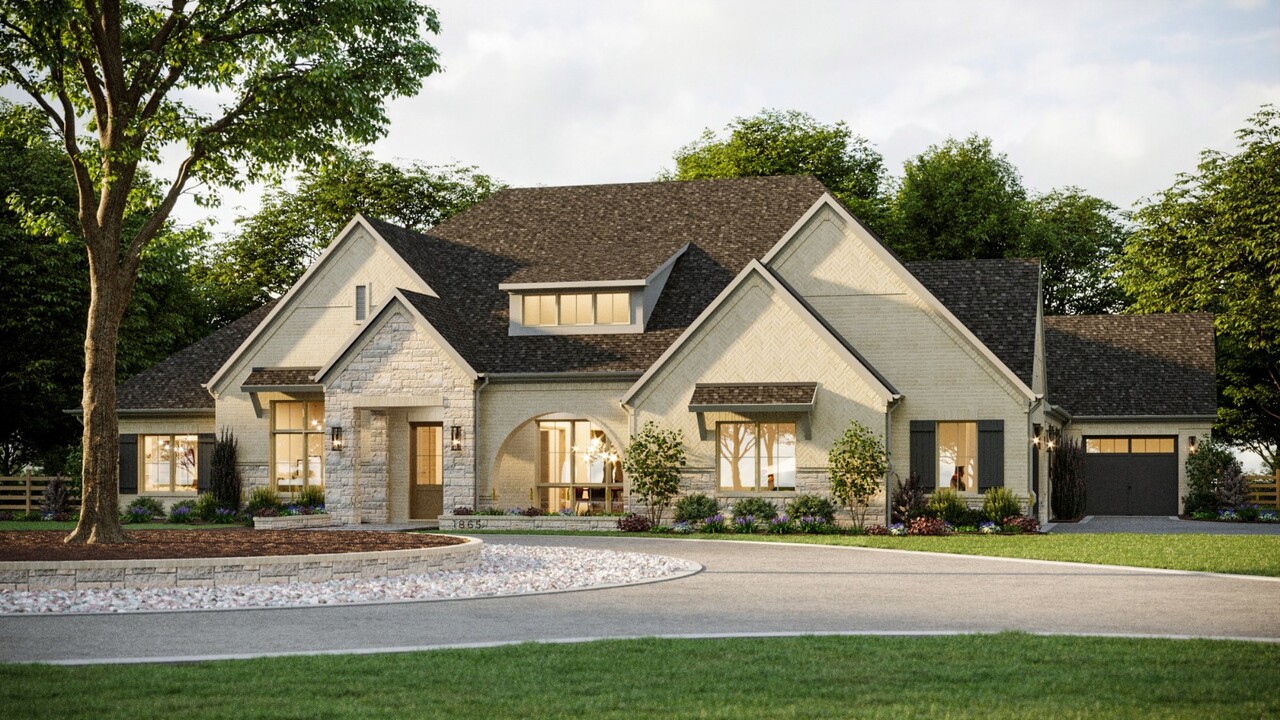
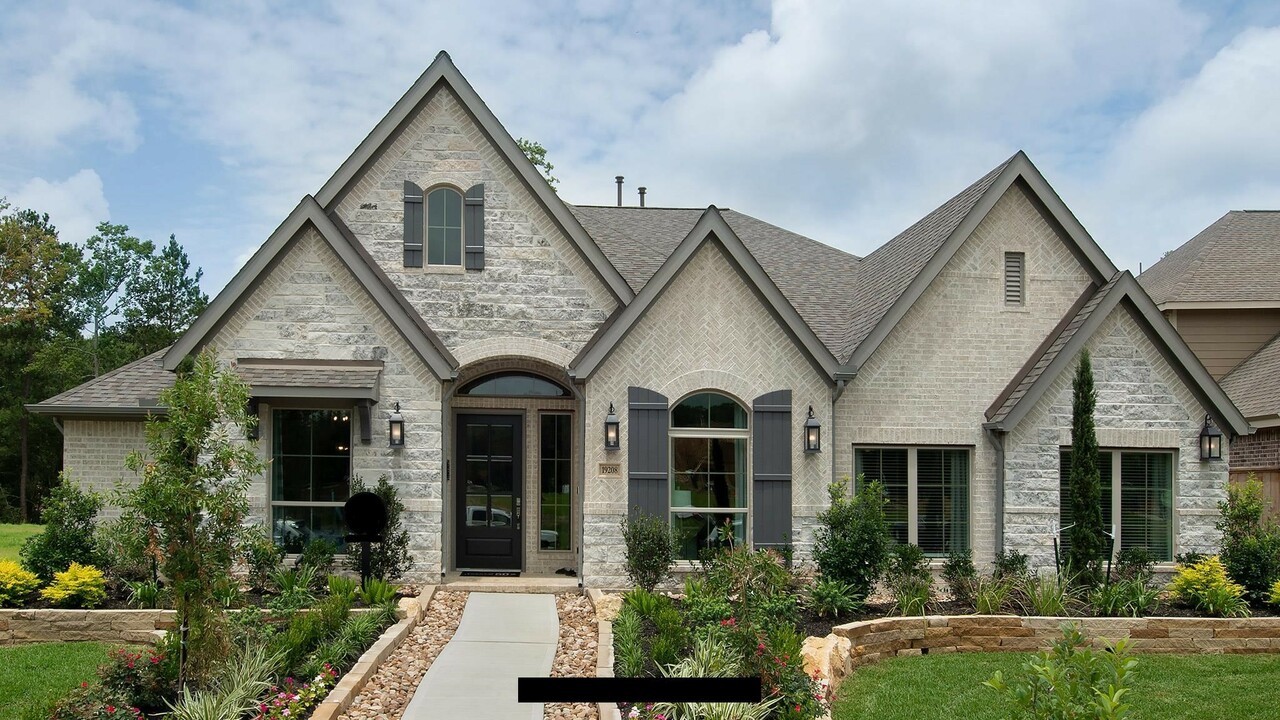
Phase #9. Final 3D Renders
The final touch was the choice of specific plants for the landscape. We made the final edits - and finally got the result that fully meets the customer's ideas!
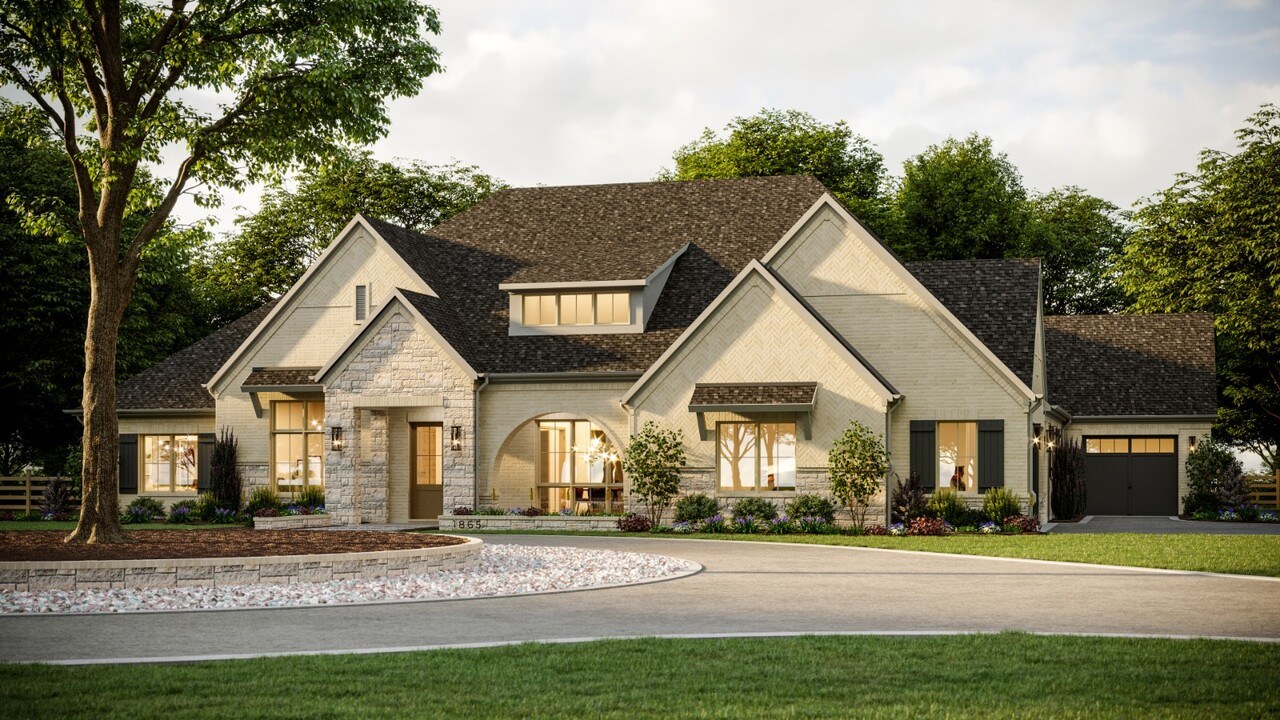
Conclusion
Please only settle for the best when showcasing your designs. Whether you need an exterior or interior rendering, a 3D walkthrough, or a virtual reality experience, we've got you covered!
Contact us today to learn more about our services and how we can help take your project to the next level.

